


Places Index
Places Index https://help.heredis.com/wp-content/themes/corpus/images/empty/thumbnail.jpg 150 150 Heredis Help Knowledgebase https://help.heredis.com/wp-content/themes/corpus/images/empty/thumbnail.jpgThe places index is updated as places are entered in events and facts. See the Places article for more details.
You can also add a place to the index for future use.
The Places index can be accessed from the Tools menu > Places index.
Create a new place to be assigned later
- Display the Places panel or open the
 Places Index.
 - Click
 (Add New Place).
 - Enter the name of the place. With the first letters, Heredis proposes a list of known places which may match your entry. By choosing one of these known places, the different administrative fields and geolocation of the place will be filled in automatically.
See the Places article to understand how to input a place.
A new place has been created but it is not yet assigned to an event. This place will now be proposed in the list of existing places when you type in the Places field of an event.
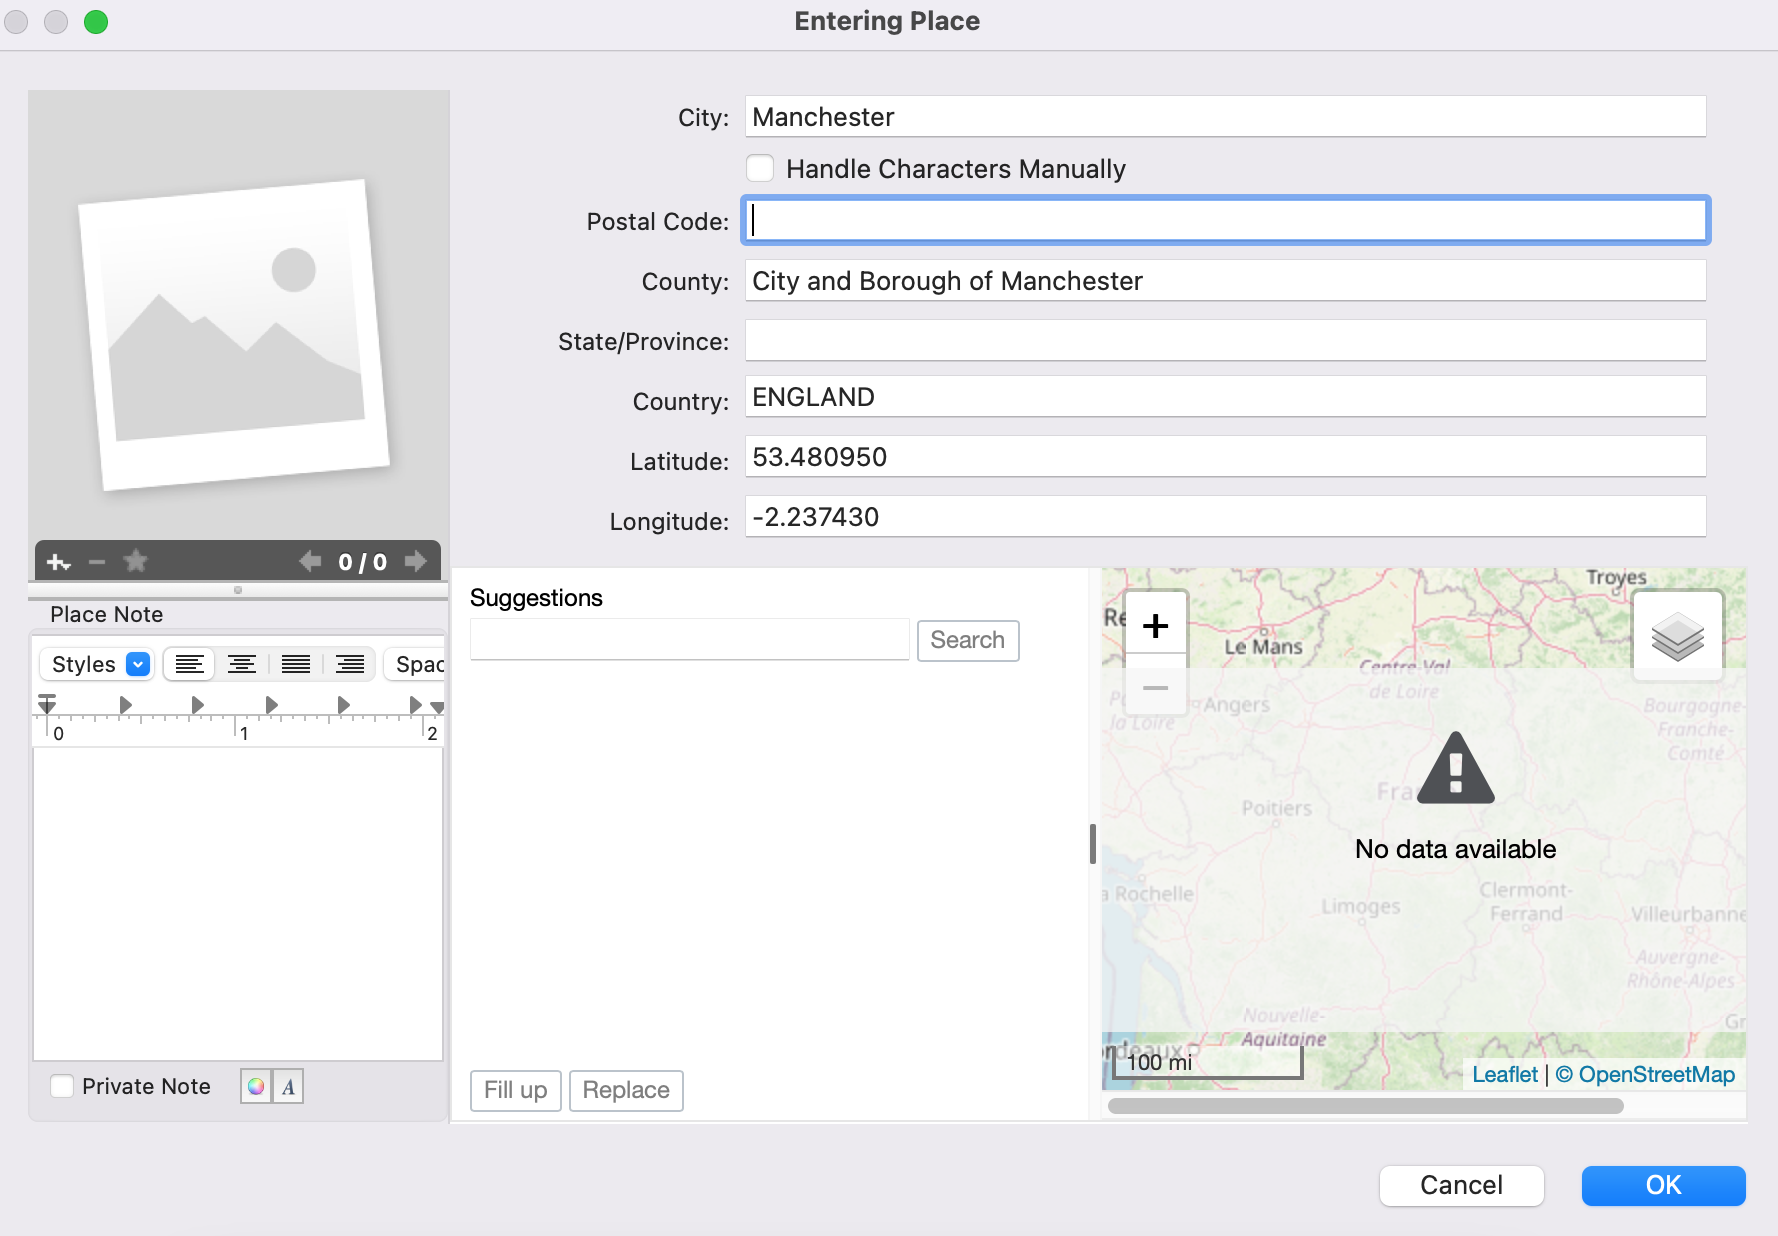
(Mac) Enter new place in Places index
(Windows) Enter new place in Places index
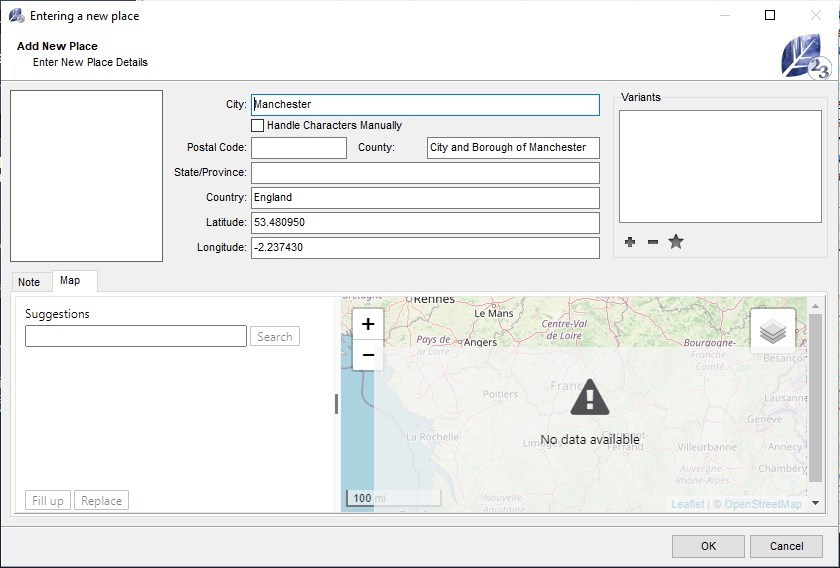
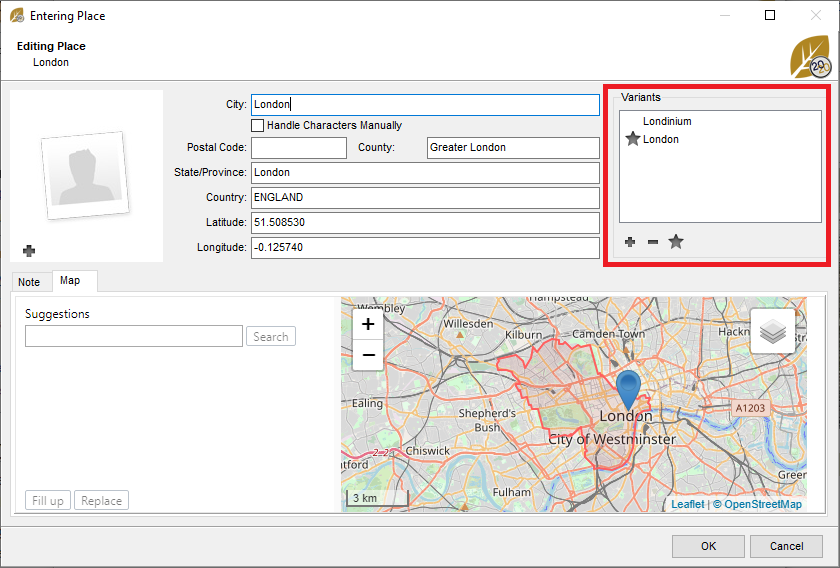
Information for the place
The input and modify screen of the place contains items to be filled in, a Notes field, an assigned media field, a display field for a map, and a field reserved for geolocation if it is not known.
Input fields for the place
Each administrative item has a separate input field. This organization method allows you to edit documents by town, region, country and facilitates the geolocation of the place where your ancestors lived.
Complete the fields City – Postal Code – County – State/Province – Country.
If you know them, you may also complete the Latitude and Longitude fields. However they will be filled automatically when the geolocation of the town will be done.
(Mac) Administrative item

(Windows) Administrative item

Tick Handle Characters Manually box if you don’t want the default Heredis Preferences to apply for formatting the place.
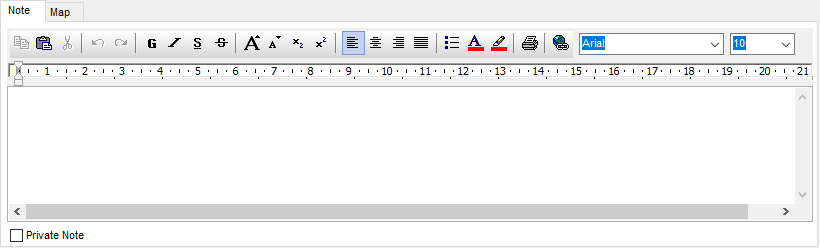
Place Note
Enter information about the place in the Note field, for example the history of this place. You have available the text editing tools to format the note.
Tick the Private Note box to exclude exports of the note or printed documents.
(Mac) Place’s Note

(Windows) Place’s Note
Media assigned to the place
To assign one or more media to a place:
• Click the ![]() (Add a Media) button in the display field of the media.
(Add a Media) button in the display field of the media.
• (Mac) Drag and release the media selected from Media panel or from the Finder.
(Mac) In Place index, area to add a media

(Windows) In Place index, area to add a media

Mac Info • The right-click menu in the display field of the media provides access to the Add New Media option.
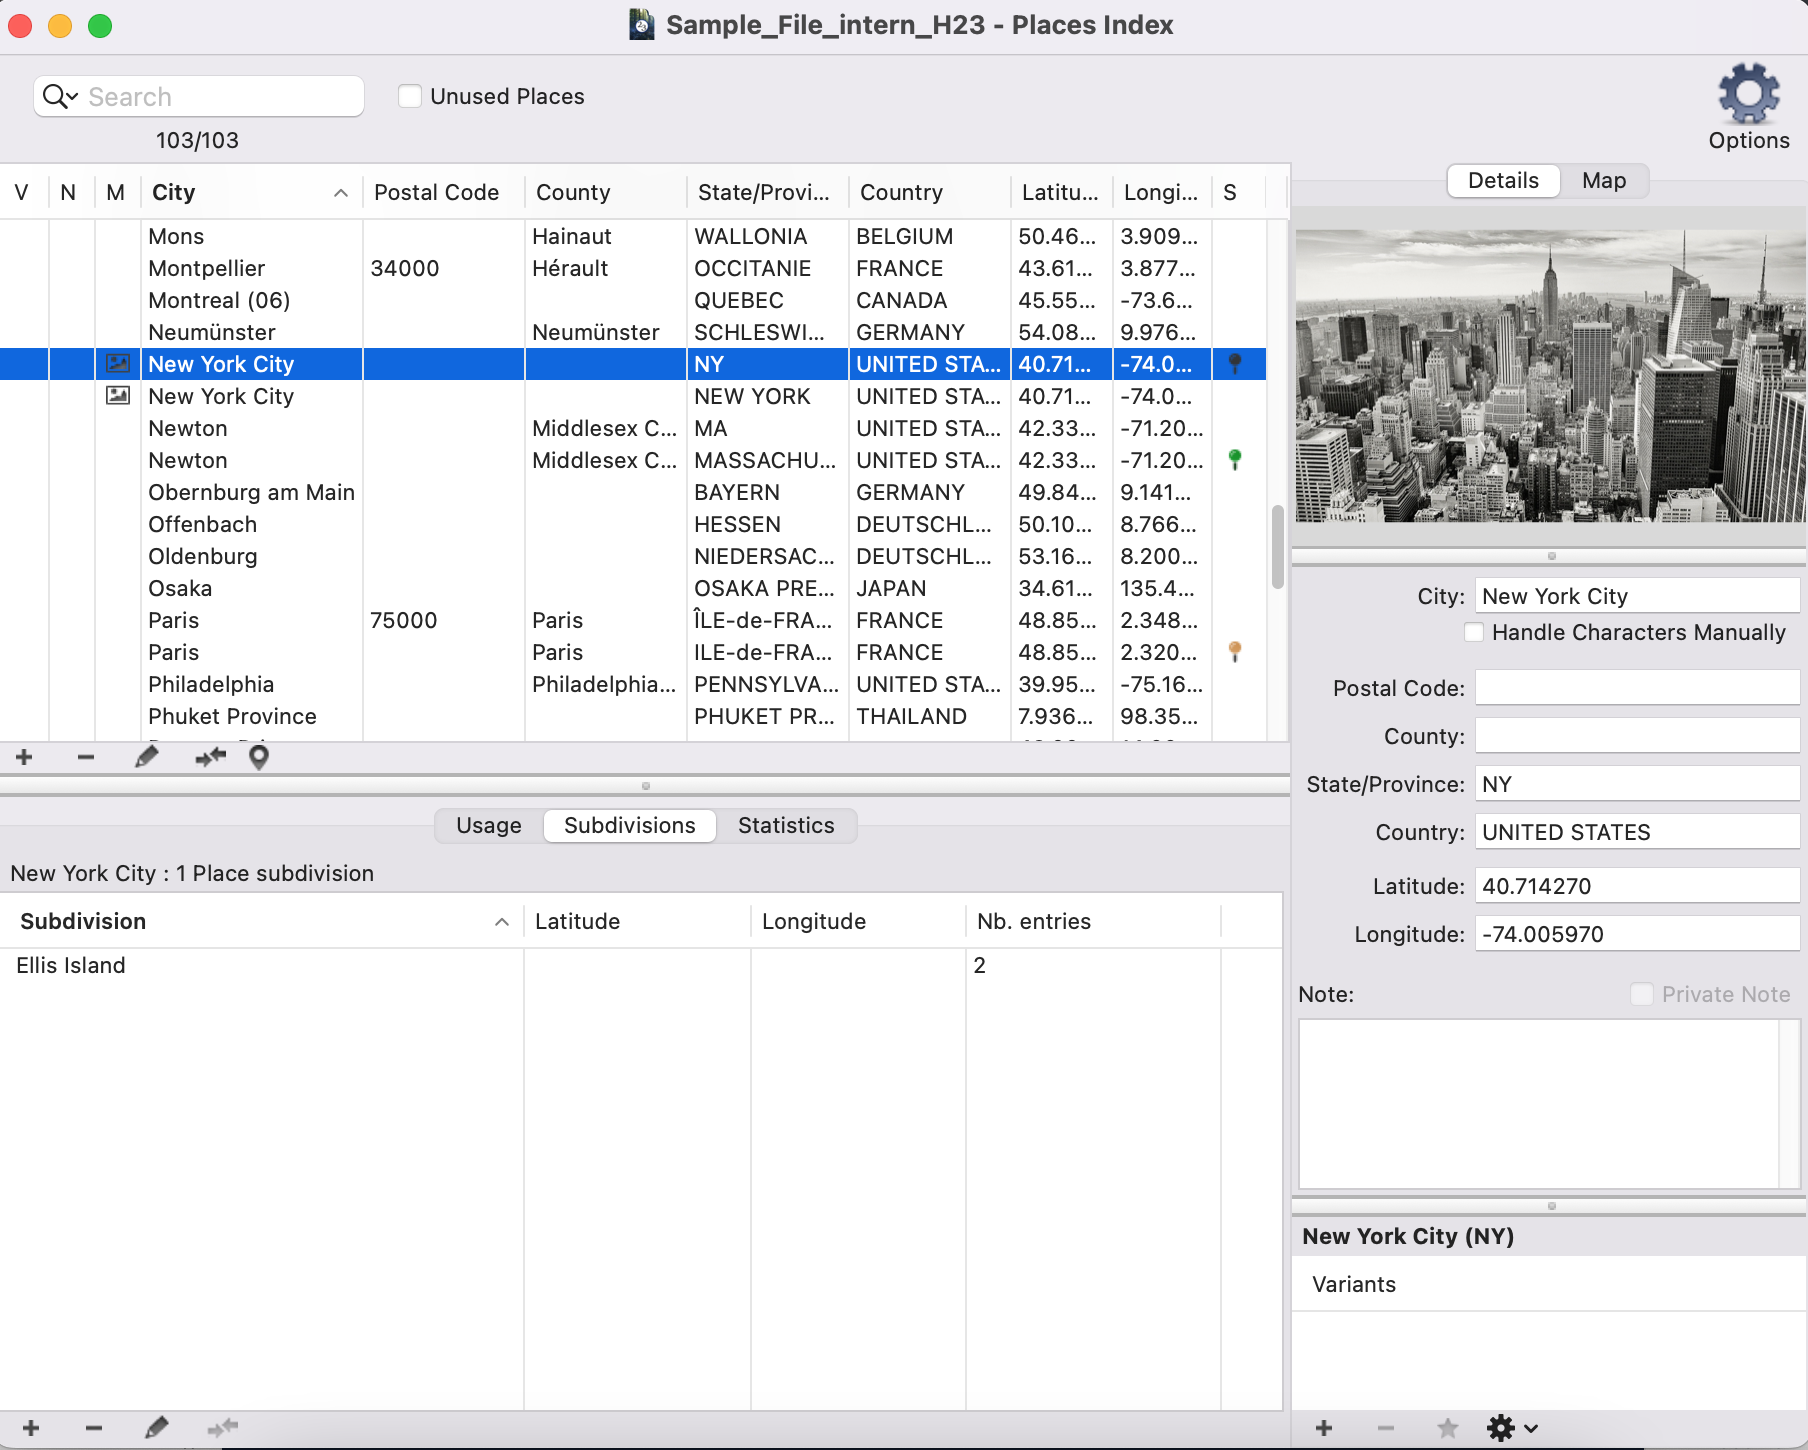
Subdivisions
Subdivisions tab inform you of subdivision attached to the selected place.
(Windows) Places index

(Mac) Places index
By clicking on the pencil ![]() button, you can geolocate the selected subdivision.
button, you can geolocate the selected subdivision.
Use the ![]() button below the list of subdivisions to add a subdivision to a location for future use.
button below the list of subdivisions to add a subdivision to a location for future use.
Use the ![]() button below the list of subdivisions to delete a subdivision from a location.
button below the list of subdivisions to delete a subdivision from a location.
The button ![]() allows you to replace a subdivision by an other one, if for example, you entered “main street” and “Main Street”.
allows you to replace a subdivision by an other one, if for example, you entered “main street” and “Main Street”.
Also check Geolocating place subdivisions.
Starting with Heredis 2025, you can delete unused subdivisions with just a few clicks. To do this, open the places index, click on the (Windows) Tools / (Mac) Options button and then click on Remove all unused subdivisions.
Manage variants
The concept of a variant allows you to combine several elements of an index. You can define variants of Places.
The names of places have sometimes changed over the centuries. As part of your genealogical research, you will find a number of variants for the same place. Lunden was renamed London.
Declaring variants
1. Open the ![]() places index.
places index.
2. Select the place you want to be the main one.
3. In the Variants section:
- (Windows) at the bottom of the window in the Data tab, click on edit and then on the button
 in the variants area.
 - (Mac) at the bottom right of the window, click on the button
 (Add a variant).
4. Select the item which will be the variant and confirm with the Choose button.
You can repeat this operation as often as necessary to add several variants to the main element.
Add an old town
You can enter old towns and link them to the new one using the variants.
See the article Geolocating places paragraph Geolocating unrecognised places.
Once the old and new towns are available in the places index.
Tell Heredis that the old town is a variant of the new one.
To do this, open the places index.
Edit the new town by clicking on the pencil ![]() .
.
Click on the ![]() under the variants area to add the old town as a variant.
under the variants area to add the old town as a variant.
(Mac) Add a variant

The button bar
Below the list of locations, you’ll find a button bar.
![]()
![]() allows you to add a place.
allows you to add a place.
![]() delete the seleted place(s).
delete the seleted place(s).
![]() allows you to edit the selected place. You can add a note, a media item or change the administrative information.
allows you to edit the selected place. You can add a note, a media item or change the administrative information.
The ![]() Replace with button lets you replace a place with another in the places index. If, for example, you have duplicates, this function replaces the uses of the duplicate with the other place.
Replace with button lets you replace a place with another in the places index. If, for example, you have duplicates, this function replaces the uses of the duplicate with the other place.
Use the button ![]() to launch Zoom in on a place function. See the Zoom in on the World – Zoom in on a Place article for full details.
to launch Zoom in on a place function. See the Zoom in on the World – Zoom in on a Place article for full details.
On Windows, you can use the button ![]() to create a place sheet of the selected place and print it out using your word processing software.
to create a place sheet of the selected place and print it out using your word processing software.
Select several locations
To process several locations in a single operation :
- (Windows) Press the Ctrl or Shift key and, while holding down this key, click on the different locations you wish to select.
- (Mac) Press the Command or Shift key and, holding down the key, click on the different locations you want to select.
Then choose the appropriate action: delete, replace or print the file.
Tools (Windows) or Options (Mac)
The Tools button on Windows and Options on Mac lets you perform a number of actions. Click on them.
(Mac) Print the place index
The Options button > Print > Custom reports allows you to edit the custom report of the places stored in the file as they are displayed.
If you have done a search, only the results of this search will be printed. Also, Heredis will keep the sorting order you have chosen by clicking on the columns corresponding to the different topics of the places.
You can also create a list, in the format prior to the custom reports, of all places. Click the Options button > Print > Print Places list.
You’ll find all the topics of the places, its uses, and the transcripts you’ve entered if you wish.
Check out the articles Custom Reports, (Mac) Create and Edit a Report
(Windows) Print the place index
The Print button allows you to edit the custom report of the places stored in the file as they are displayed. You can also launch the printing from Tools button > Print > Custom reports.
If you have done a search, only the results of this search will be printed. Also, Heredis will keep the sorting order you have chosen by clicking on the columns corresponding to the different topics of the places.
You can also create a list, in the format prior to the custom reports, of all places. Click the button in the index toolbar or the Tools button > Print > Places report.
You’ll find all the topics of the places, its uses, and the transcripts you’ve entered if you wish.
Check out the articles Custom Reports, (Windows) Pre-established reports.
Import an index into a Heredis file
You can import an index into an other Heredis file if, for example, you need to use the data you entered in an other file. See Import an index into a Heredis file article for further details.
Remove all unused places
In order to clean up your file, you can remove at once all the unused places.
Click on (Mac) Options button / (Windows) Tools button > Remove all unused places.
If a place is used, Heredis will alert you and won’t delete them.
Unlink all variants
To delete all location variants from the genealogy file :
- Click the (Windows) Tools / (Mac) Options button.
- Select the Unlink all variants option.
