


Media Index
Media Index https://help.heredis.com/wp-content/themes/corpus/images/empty/thumbnail.jpg 150 150 Heredis Help Knowledgebase https://help.heredis.com/wp-content/themes/corpus/images/empty/thumbnail.jpgRead also the article Indexes: generalities for tools available on all indexes.
The media index is fed each time you add a media in Heredis. Whether it is a source media, a person, a union, an event, a place, etc.
For more details, please consult the Media article.
Open the Media Index
- from the Tools menu > Media index,
- from the toolbar
 ,
, - (Mac) or by clicking the
 Index button in the Media panel toolbar.
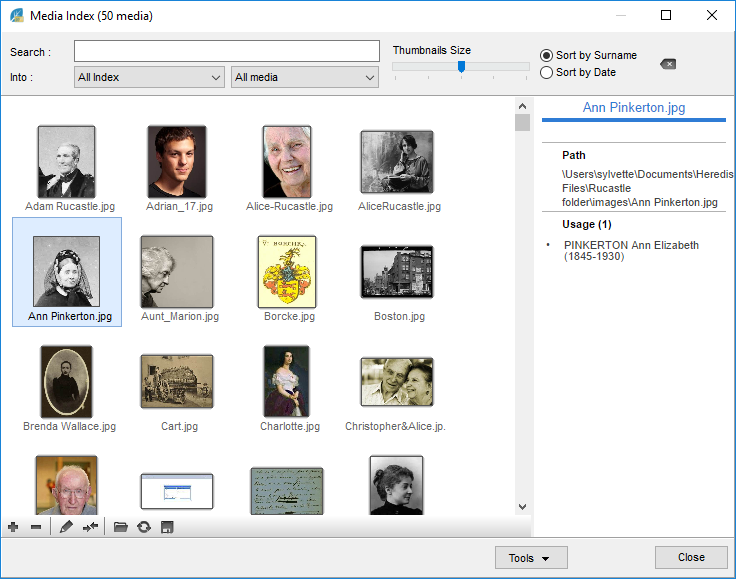
(Windows) Media Index

(Mac) Media Index
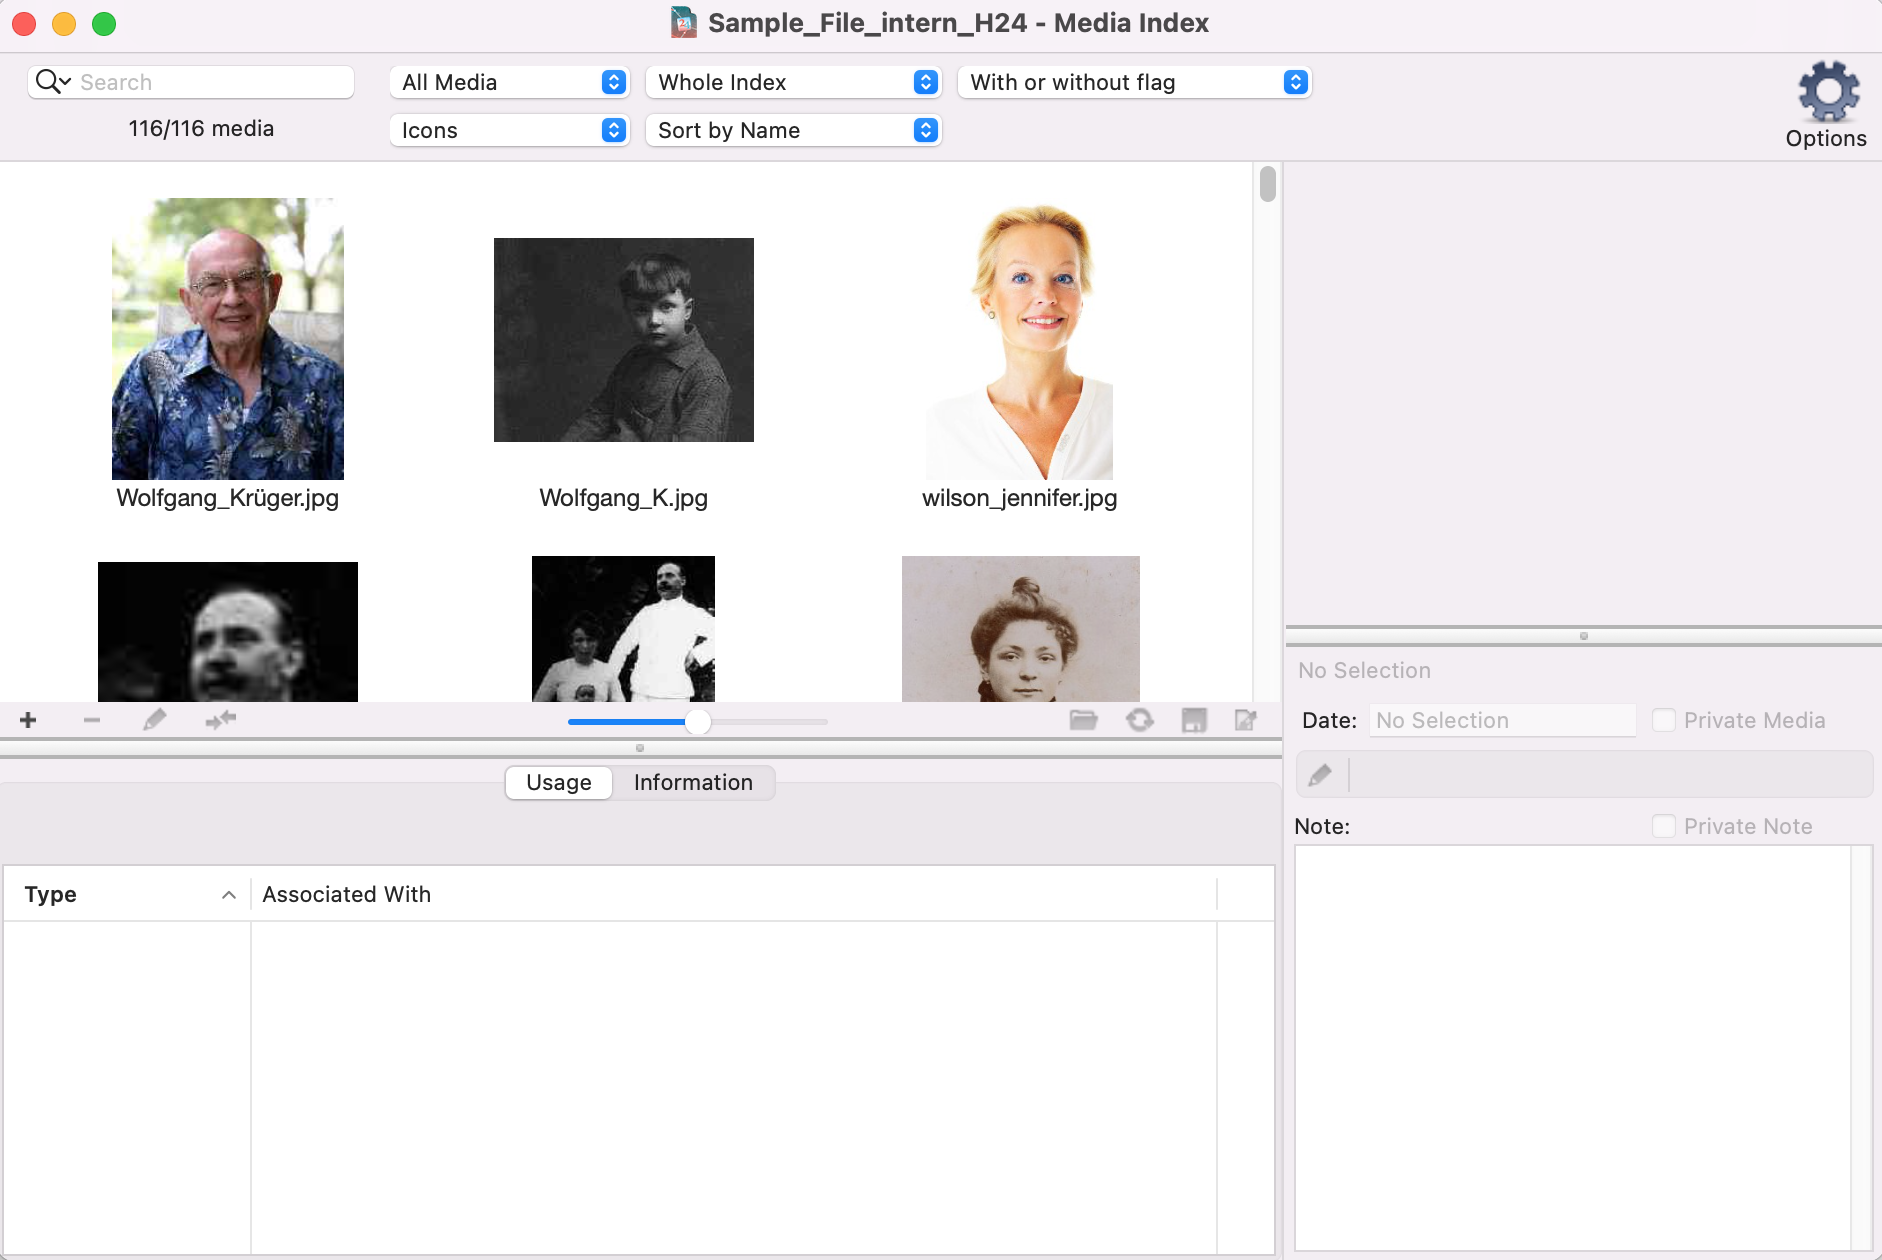
Searching
In the Search section, type in the name (or part of the name) of the media you are looking for. The number of items matching your search is displayed right underneath the search section.
(Mac) Click the Magnifying Glass icon to select the search mode: “Search Starts With” or “Search Contains” the letters typed in.
In order to delete or replace the searched word, click on the (Windows) ![]() or (Mac)
or (Mac) ![]() , which appears in the input area.
, which appears in the input area.
- The search can be limited to a single type of media by selecting it from the drop-down menu: All media, Image files, Audio files, Video files, Other types, Missing Media, Private.
- Filter your search according to the type of data the media is assigned to by selecting in the other drop-down menu: All/Whole index, Persons, Families, Sources, Events, Surnames, Given Names, Places, Unused Media, etc.
To better identify the selected media:
- Choose to display a list or icons according to the name of the media or to the date you have entered.
- Sort the media by name or date. You can also enlarge the icons using the zoom cursor.
Info • If you choose to display a list instead of icons, the results displayed as a list can be sorted according to the presence of a Note (N), of a Private media (P), or according to their name, by simply clicking on the column header.
If a media is selected on the list, you can consult the data it is related to by clicking the Usage tab. Double-click the data you are interested in and it will be displayed in a new window.
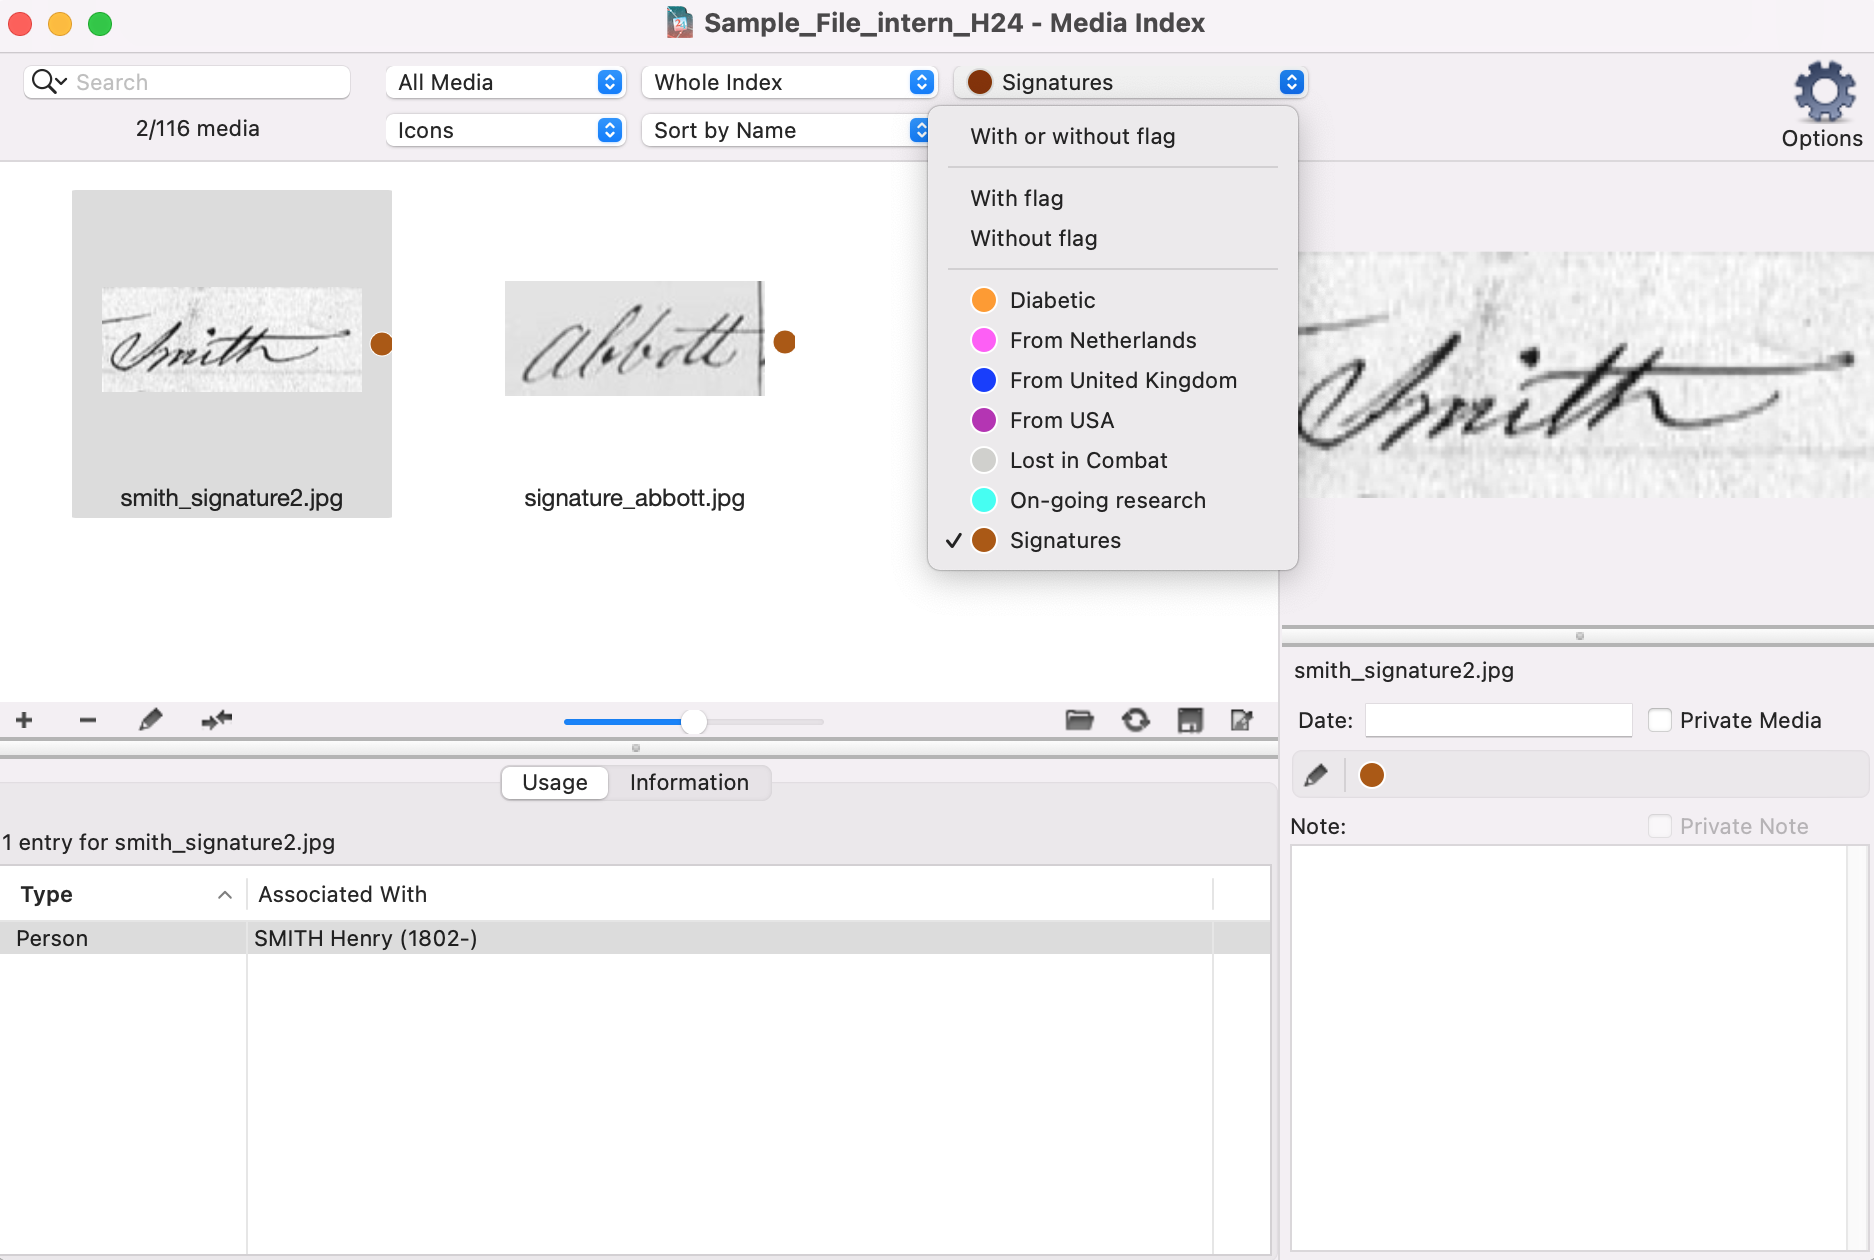
Starting with Heredis 2025, it has been possible to add flags to media. See the Media article for more details.
You can filter with or without flags (to get all media), with or without flags, or choose from your list of flags.
For example, if you’re looking for all signatures and you’ve added a Signature flag to your media, choose to filter by.
Mac Flags filter
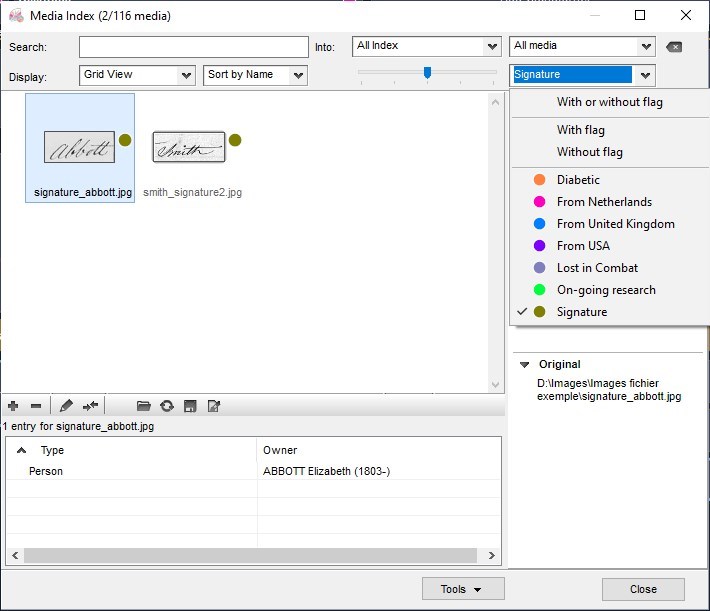
Windows Flags filter
The button bar
Below the media list or thumbnails, you’ll find a button bar.
![]() adds a media.
adds a media.
![]() deletes the selected media.
deletes the selected media.
![]() lets you edit the selected media. You can date it, add a note, do some simple retouching or even identify individuals in the photo. See the Photo Tool article for full details.
lets you edit the selected media. You can date it, add a note, do some simple retouching or even identify individuals in the photo. See the Photo Tool article for full details.
The ![]() Replace with button lets you replace one media item with another from the media dictionary. If, for example, you have duplicates, this function replaces the uses of the duplicate with the other media.
Replace with button lets you replace one media item with another from the media dictionary. If, for example, you have duplicates, this function replaces the uses of the duplicate with the other media.
The ![]() Replace with computer media button lets you tell Heredis that media A is to be replaced by media B. This is very useful if you have renamed your media outside Heredis.
Replace with computer media button lets you tell Heredis that media A is to be replaced by media B. This is very useful if you have renamed your media outside Heredis.
The ![]() Update from original button is useful for updating the selected media if, for example, you have made changes in a photo editing program.
Update from original button is useful for updating the selected media if, for example, you have made changes in a photo editing program.
The ![]() Save as button lets you save a copy of the media on your computer. It will be of the same quality as the one in the dictionary.
Save as button lets you save a copy of the media on your computer. It will be of the same quality as the one in the dictionary.
Finally, the ![]() Rename media button lets you change the name. Full details in the Rename media article.
Rename media button lets you change the name. Full details in the Rename media article.
Tools (Windows) or Options (Mac)
The Tools button on Windows and Options on Mac lets you perform a number of actions. Just click on them.
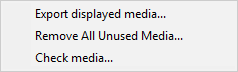
Export media
Click on Export selected media to create a Media folder in the name of your family tree, containing all the media in the dictionary.
Delete unused media
Click on (Windows) Tools / (Mac) Options.
Choose Remove unused media. All unused media will be deleted at once.
A message alerts you to the number to be deleted. This deletes the media from the genealogy and therefore from the dictionary, but does not delete the original stored on your computer.
Check media
Sometimes, your media in Heredis may be pixelated or even missing (icon with a cross ![]() ). There are several reasons for this:
). There are several reasons for this:
- Heredis no longer accesses the original because it has been moved or renamed or stored in a Cloud.
- Heredis can no longer access the copy of the Heredis file in the media folder.
- You have imported a GEDCOM file and a GEDCOM 5.5.1 never contains the media. For more information on GEDCOMs, see the article What is a GEDCOM?
Media verification allows you to reintegrate media in just a few clicks.
For more details on how media works, see the article Media.
Open the Media Index ![]() .
.
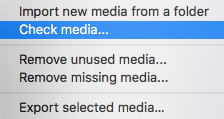
1. Click on the (Windows) Tools / (Mac) Options (cogwheel) button in the index toolbar.
2. Select Check media…
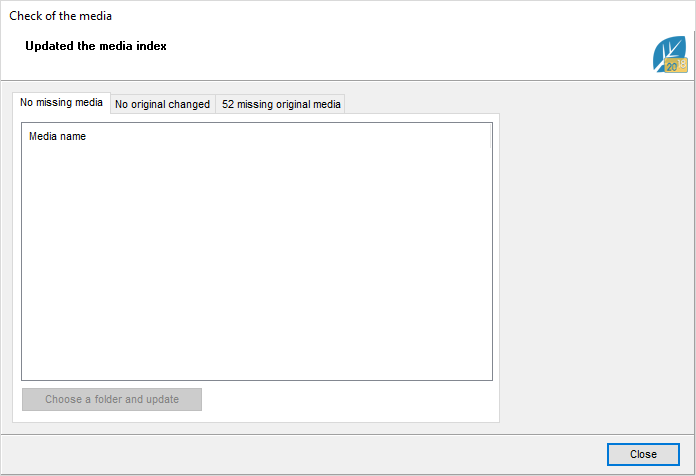
Windows Check Media
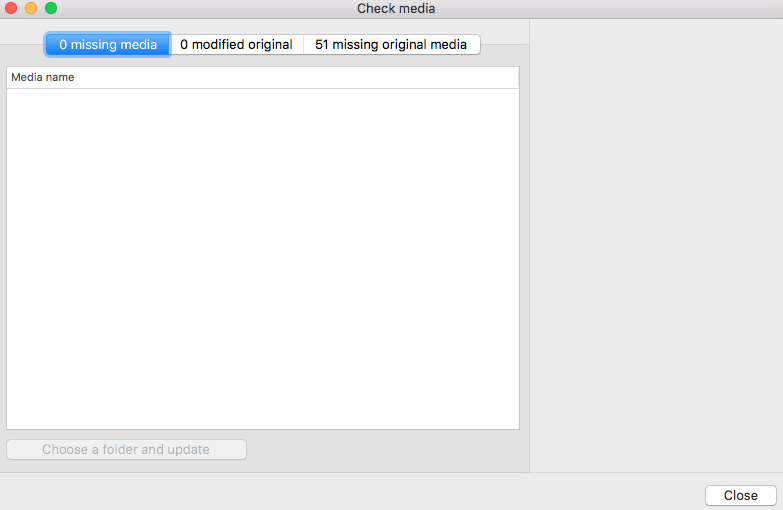
Mac Check Media
Heredis reviews all the media in your genealogy and detects, if any:
- media not found following deletion from the Media folder managed by Heredis
- media of which the original has been modified by third party software other than Heredis
- and finally, media for which the original has changed location and is no longer present on your computer.
In the Media check window, you can:
- in the Missing Media tab, designate a folder to search and update these media. Click on Choose folder and update. Indicate the location of the media on your computer. Heredis automatically reintegrates them if their name has not changed and if they are not media cut with the Photo Tool.
- in the Original changed tab, select all or part of the media managed by Heredis to update them from the originals. Click on Update the selection.
- in the Missing Original Media tab, specify the folder where your original is located. Click on Choose a folder.
Note: If your media are stored in multiple folders, you will have to do as many times the manipulation to indicate which folder you have folders.
(Windows) Media check window
(Mac) Media check window
If your originals have changed their names, Heredis will not be able to reinstate them automatically. Indeed, the software cannot know that the name of a media have been changed. In this case, see the paragraph below.
Replacing or deleting media
Replace media with other media
You may have assigned two different media but they were the same (an image of a source saved with two different names, the same image on the selected hard drive and in iPhoto …). You may only keep one assigned media but use it several times.
1. Open the Media Index ![]() and select the media to be replaced.
and select the media to be replaced.
Media Index for Windows
Media Index for Mac

2. Click Replace with another Media from… ![]() or
or ![]() on the button bar of the display field and choose the duplicate image in the index or the replacement image in its folder on your hard drive.
on the button bar of the display field and choose the duplicate image in the index or the replacement image in its folder on your hard drive.
3. Select the media to be kept and click the Choose button.
The initial media has been replaced by the second for all its uses.
Delete media
Display the Media panel, or open the Media Index.
- Select the media to remove
- Click the
 (Remove the selected media) button on the toolbar for media management.
 - (Mac) Right-click the media and choose Remove…
- Confirm the deletion of the media with OK.
This will delete the media from your genealogy file. If it had been used, it will no longer appear in the illustrations of data or persons to whom it was assigned.
Change Private field to
If any of the media in your index are marked Private, or if you wish to make them private, click on (Windows) Tools / (Mac) Options > Change Private field to > choose between Private and Not Private.
You can do this on a media-by-media basis. If you wish to modify in bulk, select the media to be modified before clicking on the (Windows) Tools / (Mac) Options > Change Private field to > choose between Private and Not Private button.
(Mac) import new media from a folder
Click on the Options button > Import new media from a folder.
Select the location of the folder to be imported.
Confirm.
The media in the selected folder will be added to the dictionary, ready for use in your genealogy.
Select multiple media
You can select multiple media from the media dictionary.
On Windows, press the CTRL key on your keyboard and click on each media item to be selected.
To select a whole list of successive media, press the SHIFT key on your keyboard and click on the start and end media of the list to be selected.
On Macs, press the Cmd key on your keyboard and click on each media item to be selected.
To select a whole list of successive media, press the SHIFT key on your keyboard and click on the start and end media of the list to be selected.
