


Create the first person
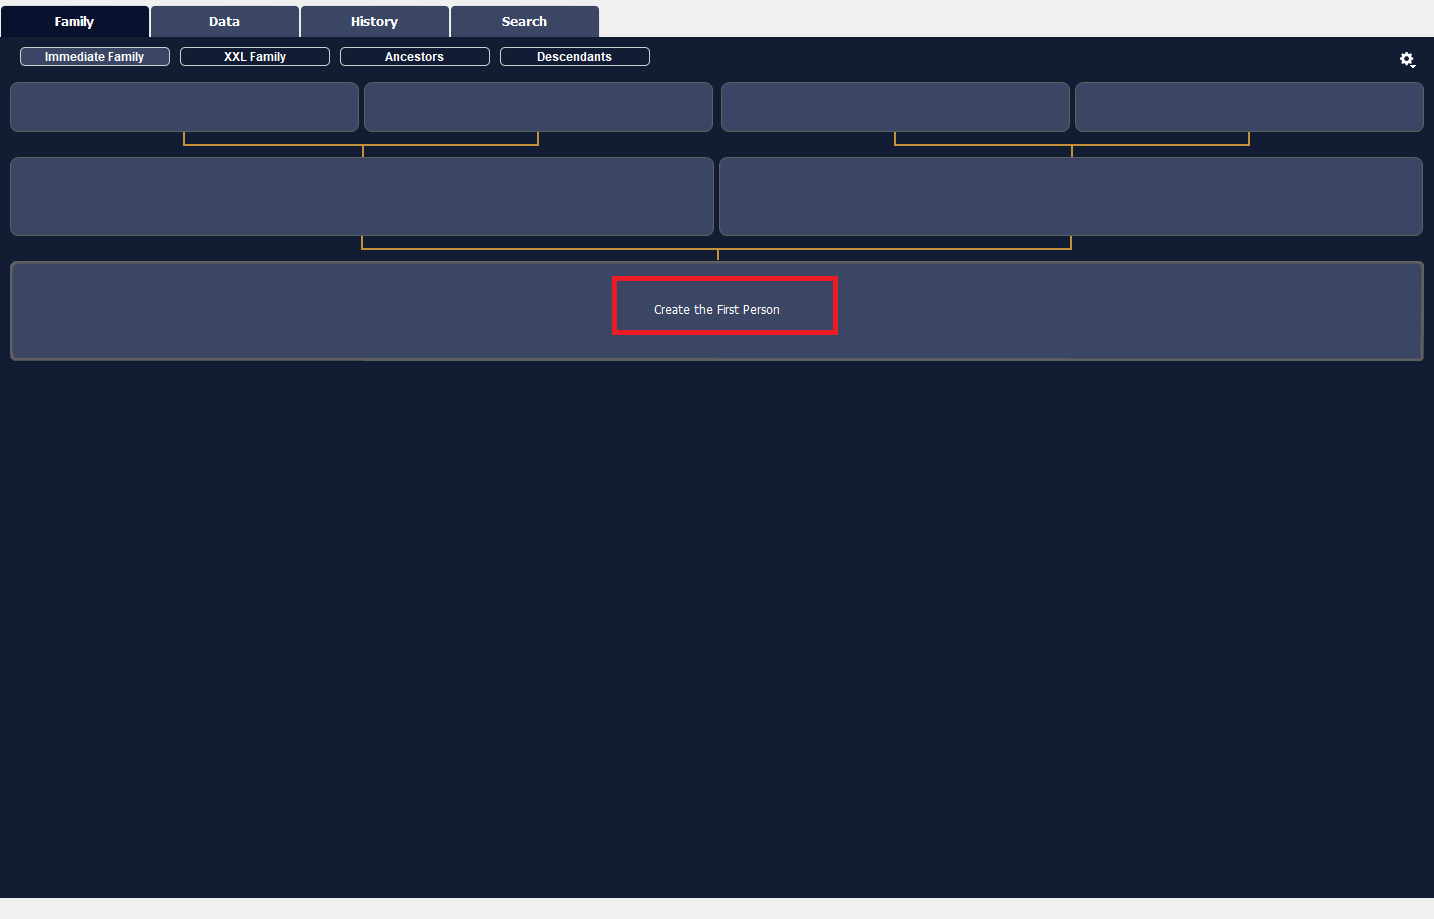
Create the first person https://help.heredis.com/wp-content/themes/corpus/images/empty/thumbnail.jpg 150 150 Heredis Help Knowledgebase https://help.heredis.com/wp-content/themes/corpus/images/empty/thumbnail.jpgYou have chosen to create a new genealogy: Heredis opens an empty Immediate Family screen, which will fill up as and when you enter data. Now create the first person to start your new file.
Click Create the First Person in the center of the screen
or click on Add ![]() button of the toolbar > Add Unrelated Person
button of the toolbar > Add Unrelated Person
or choose Person menu > Add > Unrelated Person
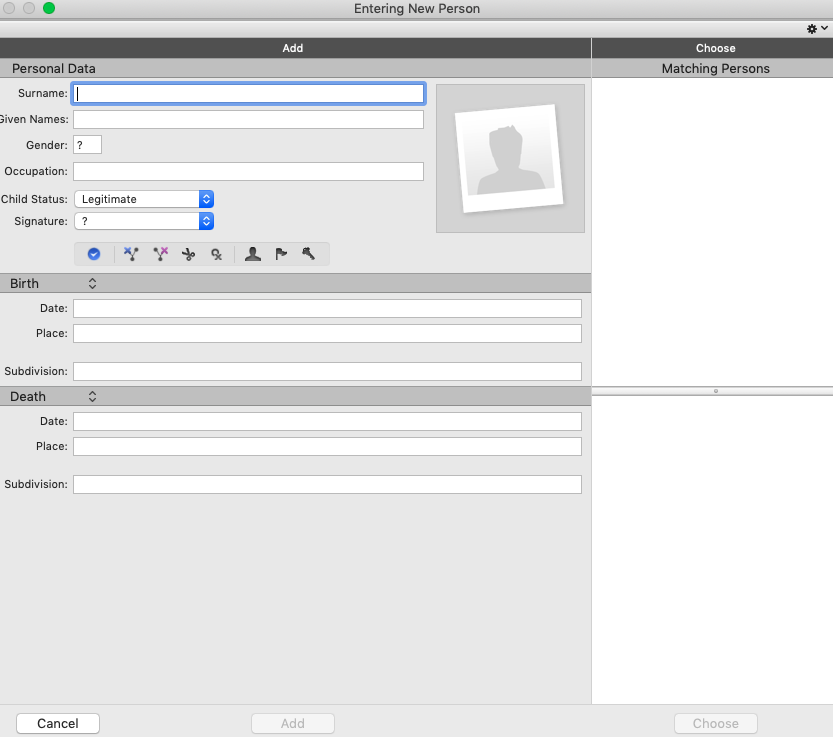
The Entering New Person screen opens with the data boxes to complete. To move from one box to another, press the Tab key or click in the next box.
Heredis includes data entry aids which will save you time and avoid errors.
Windows Entering a new person

Mac Entering a new Person
Surname
Type the name of the first person without worrying about upper or lower case. Each new name entered is integrated into the Surnames Index, making it available later for help with entering surnames.
Given Names
Type in the given names of the person. The list of given names known to Heredis appears and is updated as you type. Once you locate the given name in the list, use the down arrow to select it and then press the Enter key to select it. If the usual given name is not the first given name, it may be highlighted. To do this click the icon (Windows: ![]() ; Mac:
; Mac:![]() ) which appears to the right of the data input area, and select from the list the usual name, or enter the usual name in quotes.
) which appears to the right of the data input area, and select from the list the usual name, or enter the usual name in quotes.
Gender
Gender is automatically inserted by Heredis based on the given name(s). If the given name is multiple, Heredis leaves a ?.
For gender selection, click the arrow or type M for Male, F for Female. Your choice will be stored for future use of the same given name. If you want to modify it later, you can do so in the Given Names Index, without changing the data that you have already entered.
Occupation
Enter the occupation of the person. This section is for the sole or main occupation the person held. You may also enter Occupation events, dated and detailed for any other activities. The list of recognized occupations with Heredis appears and is updated as you type. When you see the desired occupation in the list, use the down arrow to select it and tap Enter to select it.
In the Occupation field, recognized occupations are underlined. If you type a word that is not recognized as an occupation and want to add it as an occupation, with the mouse select the word or group of words and click the arrow to the right in the box. Heredis will create an occupation that is added to the Occupations Index. As you leave the field, you will find that it is now a recognized occupation because it will be underlined.
Child status
Scroll down the Child Status menu and choose the appropriate option.
Signature
Scroll down the Signature menu and select Yes if the person knows how to sign, No if you have seen that he/she cannot sign, ? if you are not sure of the information.
Flags
They can enter additional information relevant to your genealogy.
- Click the
 Complete person icon if you have no more research to do for the person.
 - Click the
 Untraceable father icon if the person was born of unknow father or you can not know the name of the father (missing records…).
 - Click the
 Untraceable mother icon if the person was born of unknow mother or you can not know the name of the mother (missing records…)
 - Click the
 Childless icon if you know this person had no offspring.
 - Click the
 Unmarried icon if you know this person did not have a spouse.
 - Click the
 Secondary Person icon to indicate that this person has only a minor role in your genealogy. Secondary persons in your file may be excluded from printouts, exports and publications. For example you can declare as «secondary persons» all children who died in infancy so that they will not appear in your tree charts.
 - Click the
 Marked Person icon to highlight the individual and apply specific treatment to him/her. A marked person may be excluded when exporting the file, or highlighted in a search, or may or may not be printed in a tree chart or a list.
 - Click the
 Confidential Person icon to prevent publication of information on this person in your printouts, exports and publications.
Main events
Heredis distinguishes main events (Birth – Death) from minor events (Communion – Retirement – Will, etc..). The Entering New Person screen gives access to major events only. If necessary you can enter minor events in the Personal Data tab at any time.
Birth
1. Click the Birth event title to bring up the pop-up menu and select Birth or Christening.
2. Enter the date.
3. To enter the Place field, type the name of the town of birth or Christening. Once you enter the first letters of the place, Heredis proposes a list of places that may match your entry. Select a place using the mouse or use the up and down arrows and confirm the location selected with the Enter key. If there is no place relating to your entry, select New Place. Complete the various boxes for the new location to be saved and confirm its creation by clicking OK.
Death
1. Click the Death event title to bring up the pop-up menu and select Death or Burial.
2. Proceed in the same way as for Birth.
Further information
To display further data fields, use the Choose Data Fields option ![]() . For further details, see Customize\Select data entry method.
. For further details, see Customize\Select data entry method.
Validate the creation of the first person
Click the Add button to validate the first person in your genealogy, or press the Enter key. The person appears in the center of the Immediate Family screen.
This individual is the starting point of your genealogy, the person called the Root Person and who will have the Ahnentafel number 1. Continue your genealogy by clicking on the Add Father, Add Mother, Add Spouse or Add Child links to complete the immediate family.
Later on, you can access the root person by clicking on the ![]() button or from the menu: Find > View Root Person. The Root Person can be changed at any time, see The Root Person article.
button or from the menu: Find > View Root Person. The Root Person can be changed at any time, see The Root Person article.