


Sources
Sources https://help.heredis.com/wp-content/themes/corpus/images/empty/thumbnail.jpg 150 150 Heredis Help Knowledgebase https://help.heredis.com/wp-content/themes/corpus/images/empty/thumbnail.jpgThe information gathered about your ancestors will be more or less reliable depending on their origin. Assign one or more sources to each event, fact, or person in order to justify the information recorded.
Each source (an act, a website, a historical work…) may be detailed and illustrated at the time of its creation or later.
- For each source, specify in the proposed boxes, the title, reference, author, quality of data…. A free text box allows you to enter a note or record the transcript of an act.
- You can mark a source as private in order not to export it when exchanging files, nor to publish it.
- Each source may be illustrated with media.
Once a source has been created, you may assign it to one or more events. Each event can have one or more related sources. When you assign a source to an event, add a comment indicating the link between the event and the source.
Create a new source and assign it to an event
Source tab
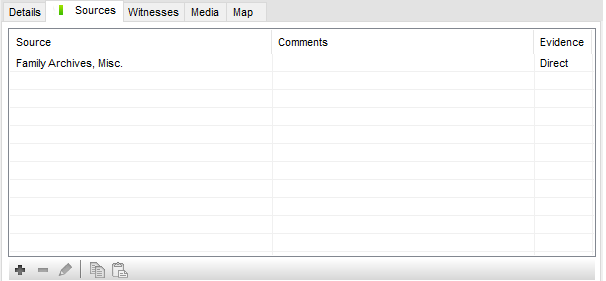
- Select the event from the Personal Data tab.
- Click the Sources tab.
- Click the
 button.
 - Click the (Mac) New Source button or (Windows) the button in the Source index screen.
- Enter the information for the source and press OK. The new source is assigned to the event.
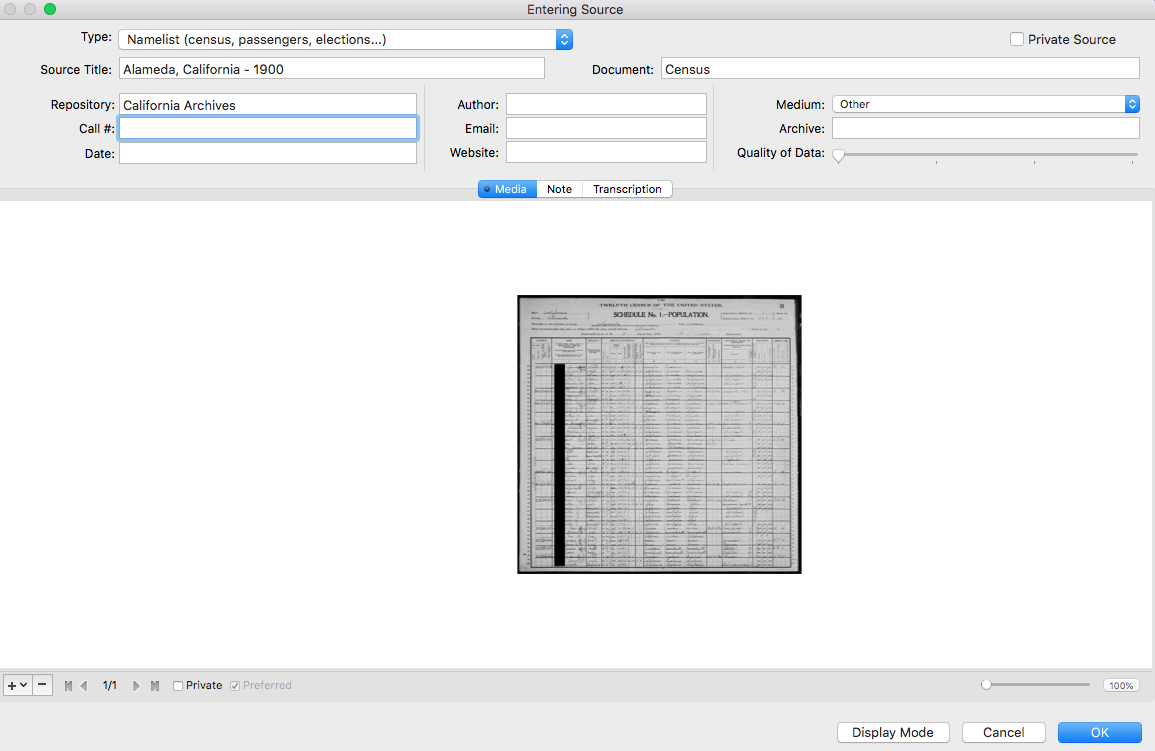
(Mac) Create a source
(Windows) Create a source
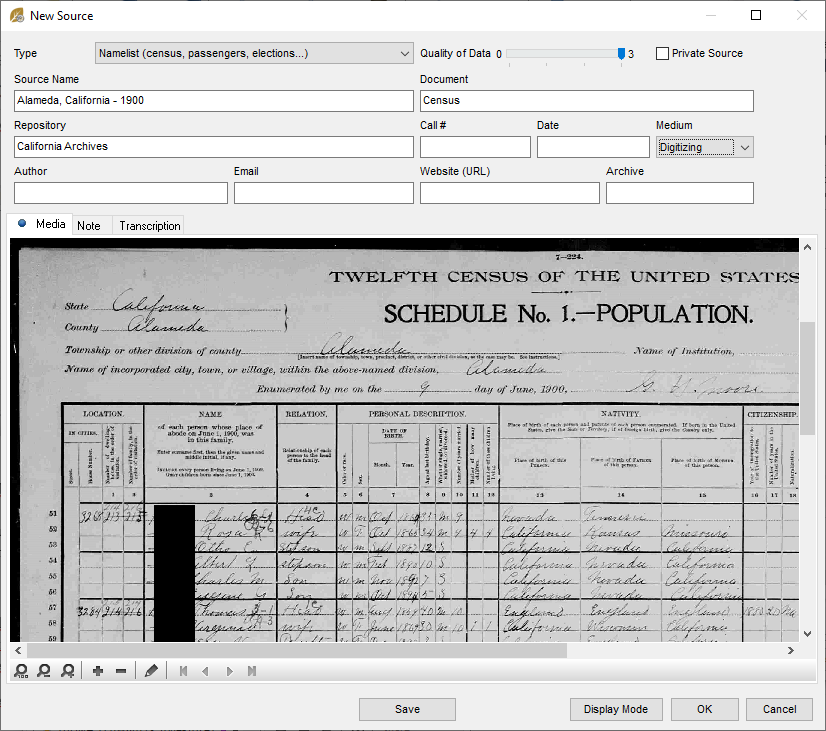
At least enter : Source type, Title, Call#, Repository and Certainty.
Add media, note, transcription, make the source private by ticking the Private Source box.
Create a source from the source index to attach it later
Open the Source index, click the (Mac) New Source button or (Windows) the ![]() button in the Source index screen.
button in the Source index screen.
Assign an existing source by drag and drop
1. Select the event from the Personal Data tab.
2. Drag the source in the Sources panel and drop it in the display field of the event. The source is then assigned.
Assign an existing source from the Sources tab of the event
1. Click the ![]() (Link a source) on the button bar to open the Entering source… screen.
(Link a source) on the button bar to open the Entering source… screen.
2. Select the source from the list then validate by clicking OK. The source is assigned to the event.
Create Person Sources
You can link sources directly to a person, click on the Person Sources tab in the middle of the screen Data > Personal Data.
The association of a person source works exactly as the association of a source for an event.
Information for the source
The input/modify screen for a source is composed of fields to be completed, a Note field that can be used for full or partial transcription of the document and a display field for the media assigned to the source.

- Type: Specify the type of information that allows you to advance in your genealogy. Is it a deed? A family document? A historical work? Etc.
- Source Name: Type a pertinent title for recognizing the document. The title of the source appears in the Sources panel and in the Sources tab of events, as well as in the genealogy documents you may print.
- Document: Specify the type of deed (death certificate, marriage contract, etc.) or what document, official or private, which contains the information (census, invitation, family book, etc.).
- Repository: Indicate where the original source is archived or the body where you found the information.
- Call Number: If the document is from an archive or library and is listed, enter this here. Specify the volume and page number if it is a published book.
- Date: Enter the date of the document that allowed you to find the information. Indicate the date of publication for a book, the date of dispatch for correspondence.
Info • Remember to specify the date of the source if it differs from the date of the event to which it relates (date of birth certificate issued 20 years after the event).
- Author: Enter the author of the document that allowed you to find information. The author of the source can be very different depending on the source. Quote a journalist for an article in a magazine, an amateur genealogist for a GEDCOM file, a ministry department or local authority for an administrative document, a parent who took a photo…
- Email: Note the email of the person or organization that holds the information.
- URL: Specify the address (URL) of the Internet website where you found the information.
- Medium: Select the medium where you store information or where you saw it. Do you have the original family book? Do you have a copy of the original or do you have a scanned image of the deed? Have you seen the information by consulting a microfilm? Have you found the information in an online genealogy?
- Archive: This section concerns only you and allows you to specify where the document is in your personal archives: in a specific file, in a specific folder of your hard disk, etc.
- Quality of Data: To qualify the validity of the information, set the certainty of the source by using the cursor, from 0 (not sure) to 3 (completely certain).
- Note: In the Note and transcription field, enter the information on the source: the details of the genealogist who gave you the information, the circumstances when you collected it by interviewing an old aunt, etc. You can type in the partial or complete transcript of the act. You have available the text editing tools for formatting.
- Tick the Private Note box to exclude the note from exports or from printed documents.
Transcript your sources
Heredis understands the difficulty of your work in deciphering the acts and proposes a Display mode get the best possible display of the media and of the note. Click on Display mode button of a source or citation to view the media next to the transcription text block.
Click the Horizontal Display button to visualize the entire width of the scanned document, even if you have zoomed the image. You may enter text below the displayed lines.
Click the Vertical Display button to visualize the document as a whole, including marginal notes. You may enter text to the right of the displayed image.
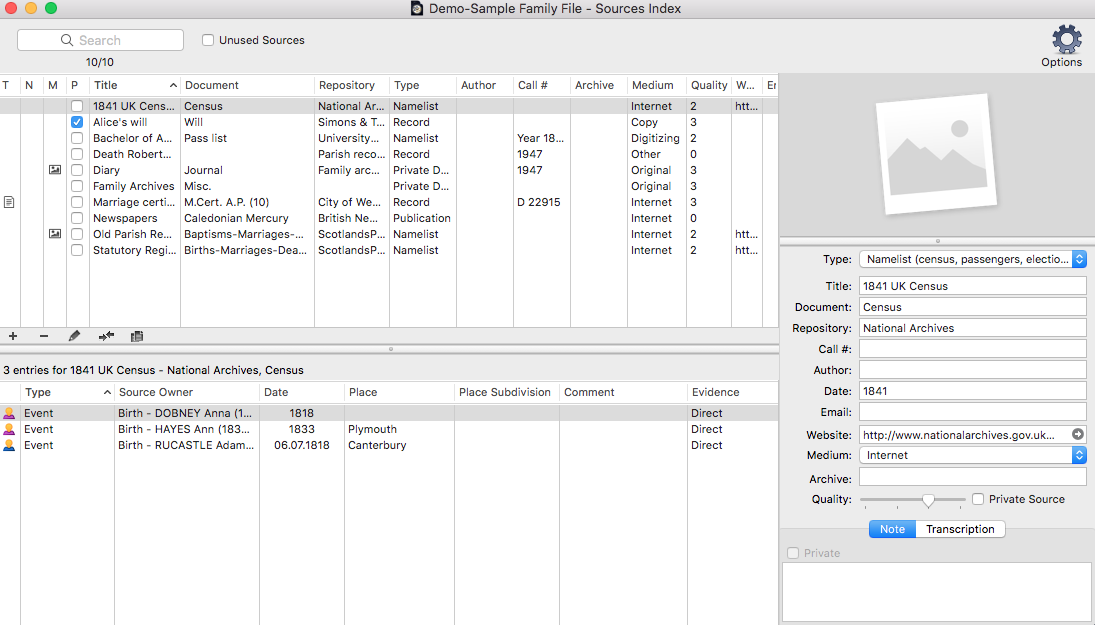
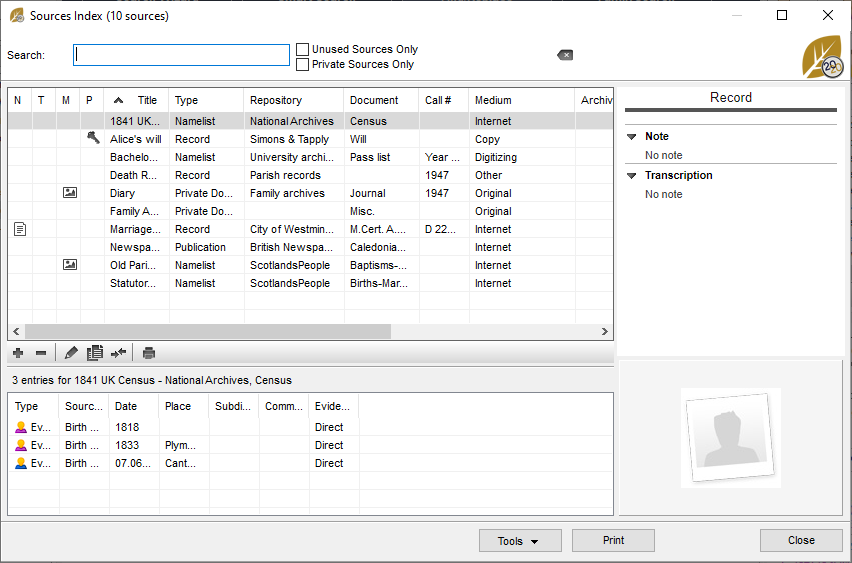
Generalities
All sources entered are managed by the Sources Index ![]() .
.
Warning: Any modification in a source will be applied to all its uses.
(Mac) Source index
(Windows) Source index
When you attach a source, add a comment to indicate the connection between the event, the facts or person and the source.
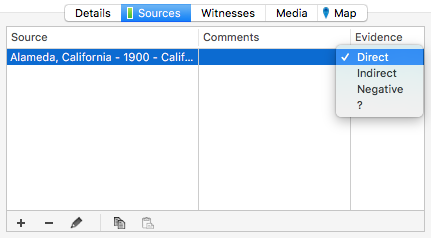
You can also register the quality of the proof you have, click on the displayed list in Evidence column and select the appropriate value according to the detained certificates.
(Mac) Source tab
(Windows) Source tab
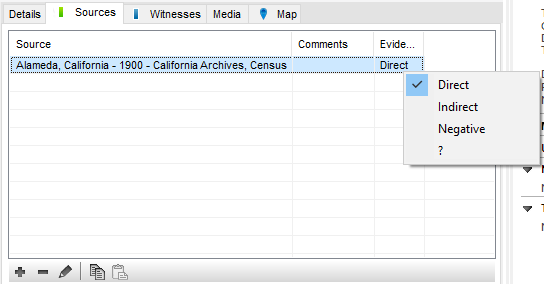
Direct: the source responds to the searched question by itself.
Indirect: the source is relevant but needs more information.
Negative: the source is relevant by the lack of information it should contained.
Note: When you add a source to an event, the proof is automatically fixed to direct. You can change this setting in Format tab of Heredis’s preferences. (Mac) Heredis menu > Preference > Format tab > Evidence, (Windows) Tools menu > Preferences > Heredis Preferences > Evidence, choose the option that matches best to your work.
Report to Source index and Indexes: Generalities for more details.
Managing citations in comprehensive mode
Heredis allows you to enrich the note associated to the sources in order to make it a full citation.
To switch in comprehensive mode,
- (Mac) click Heredis menu > Preference > Format tab,
- (Windows) Tools menu > Preferences > Heredis Preferences,
- Tick the Comprehensive mode box and check the “Comprehensive mode” alternative in the Default source citation options.
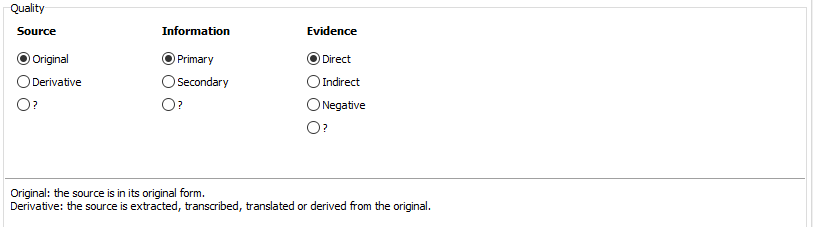
New options appear allowing you to register the quality of the source and the information.
Original: the source is in its original form.
Derivative: the source is extracted, transcribed, translated or derived from the original.
Primary: the source comes from a person who did have direct knowledge of the event or person.
Secondary: the source comes from a person who did not have a direct knowledge of the event or person (local history, tradition, family history…).
Source’s Preferences
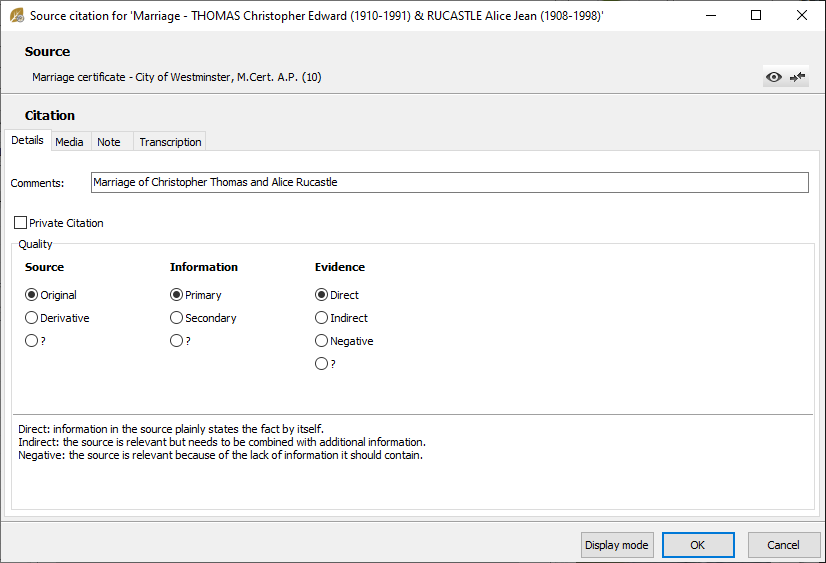
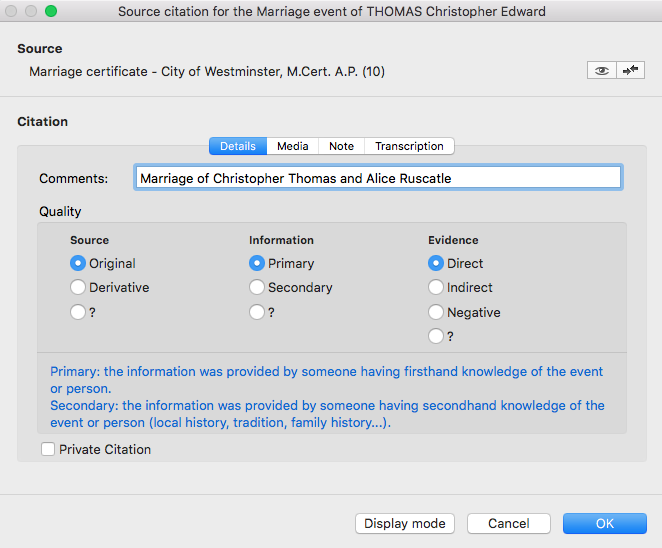
In comprehensive mode, when you want to associate a source to an event, Heredis display a citation windows allowing you to:
- link the citation to a generic source, a specific record for example
- qualify and eventually declare as private citation
- add the certificate that you detain as media of the citation
- transcribe this certificate and add a note
(Windows) Source Citation
(Mac) Source Citation
Duplicate a citation of a source
If you want to duplicate the citation and all the elements which compose it in another event, use the ![]() copy & paste
copy & paste ![]() buttons.
buttons.

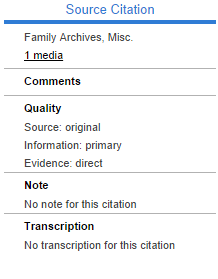
Summary of the source
In the Data screen > Personal Data, next to the list of Events, click once on any source under the Sources tab: a summary of the source – or of the source citation if you have selected the Comprehensive mode under the Default Source Citation Options – will be displayed in the Summary panel.
Source Citation
For further details, see The different mode for Sources & Citations
