


Media
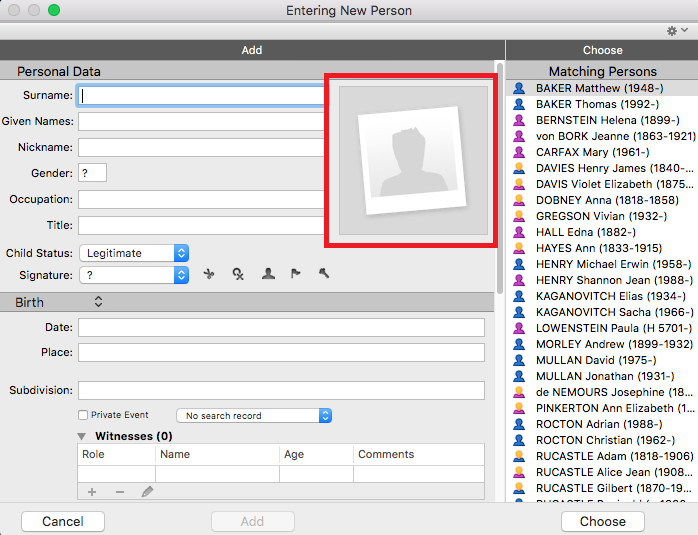
Media https://help.heredis.com/wp-content/themes/corpus/images/empty/thumbnail.jpg 150 150 Heredis Help Knowledgebase https://help.heredis.com/wp-content/themes/corpus/images/empty/thumbnail.jpgWhenever you see this  display area you may add an illustration: the photo of your great-grandfather, the photo of your baptism, the scanned image of a death certificate from 1715… These are not only images that you can attach to your data files but also sounds, videos, PDF documents, files created with your word processor.
What data can be illustrated?
- A person: in the media display field of the primary person in the Immediate Family, XXL Family, Personal Data or Family Group Data tabs. You may also add media to the Personal Data field of Create or choose… screen.
- A couple: in the Families field of the Personal Data tab.
- An event: on the Personal Data tab, click the Media tab after selecting an event.
- A surname: in the Surnames Index, either in the display field of the selected surname or directly in the Entering Surname screen.
- A given name: in the Given Names Index, either in the display field of the selected given name or directly in the Entering Given Name screen.
- An occupation: either in the Occupations Index, either in the display field of the selected occupation or directly in the Entering Occupation screen.
- A place: in the Places Index, either in the display field of the selected place or in the Entering Place screen.
- A source: in the Sources Index, either in the display field of the selected source or in the Entering Source screen.
The profile media of a person once added will be visible in several screens.
For example:
In the input data file
In the Immediate Family screen
In the Personal Data screen
The quantity of media assigned to each item of data is unlimited.
Each media may be assigned to several items of data.
When media have been assigned in your genealogy file, they are visible in the Media panel and in the Media Index.
A date and/or a note may be added to the media if you edit it by double-clicking on it.
Info • All media assigned to your genealogy are integrated into your file. You may synchronize your file with your mobile phone or another computer without worrying about the media. They will be automatically transferred.
In the media of an event, a source or a quote, enlarge or reduce the media directly in the media area. You no longer need to double-click to zoom in. Zoom in or out with the mouse wheel, or the buttons (magnifying glass on Windows and zoom bar on Mac) under the media.
What media for your genealogy?
Besides the usual media (images, sounds and videos), Heredis can assign files that can be opened directly from your genealogy software by launching the application that was used to create the media.
- Assign a text file created with your word processor and Heredis opens your word processor to read it.
- Assign a numbers document and either Excel or another spreadsheet program on your hard drive will open it to read it.
- Integrate PDF files. (Windows) Click on the Open Document link to open it with your PDF software.
On Mac or Windows, you can directly view the different pages of the PDF in the person’s summary area or in the media area for events and sources. - A Heredis tree chart effectively illustrating a branch? Assign the tree chart file to your ancestor. This tree chart may be opened from the Media tab of the person displayed.
Note: files that are not image formats (.jpg, .jpeg, .png, etc.) will not be taken over when creating a document (Book, Sheets, etc.).
The more heavy media you have, the heavier the file will be. This can slow down Heredis.
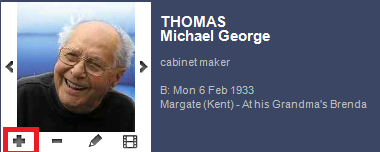
Main image of the person’ profile
If you add multiple photos of profile at different ages, for example, you can define which one should be the main image. The profile photo is the one found in the Data > Personal Data tab in the identity area or in the Immediate Family tab.
This main image will be the one displayed in the summary, in the trees, in the documents…
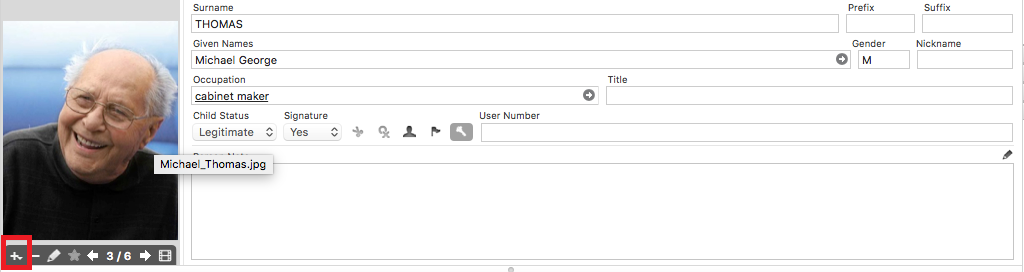
To choose your main media of the person:
- Double-click the image to open the photo tool. You will then see all the photos attached to this individual.
- Select the photo you want to put as the main photo.
- Click on the star
 at the bottom of the list.
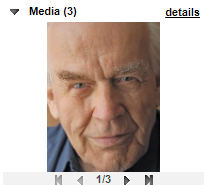
Note: Since Heredis 2023, all profile media can be viewed in the summaries, use the arrows to view other available media.
Import media to your file
With the Media field buttons
In the Media display field for each data item:
- Click the
 (Add to media) button.
 - Select the media to be assigned:
• Select (Mac) Drag from the Media Index / (Windows) From media index if the media has already been assigned to your data.
• Select Choose on Disk if the media to be imported has never been assign to your data.
• Select Past from Clipboard if you previously copied the media in the clipboard. - Select the media with the (Windows) Windows Explorer ; (Mac) Finder tools and click Open.
Or, starting with Heredis 2025, drag the image from your Windows Explorer or Finder on a Mac and drop it into the slot reserved for adding media.
Info • To display the toolbar for media management, move the mouse over the display field of the media. (Mac) Right-clicking on the display field of the media also gives you access to the Add New Media option.
In the Media panel or in the Media Index
- Click the (Add New Media) button.
- Select the media to be imported with the (Windows) Windows Explorer / (Mac) Finder and then click Open.
Or, starting with Heredis 2025, drag the image from the Media panel and drop it into the slot reserved for adding media.
Information on the media
Link between media and data
At any moment, you may assign new media to an item of data, or unlink media assigned by error. Heredis lets you also replace one media with another.
Media details
For each illustrated data in your genealogy file, double-click the media displayed and view the multimedia screen to manage all assigned media. In the Media Index or the Media panel, double-click the media to display the Photo tool screen. See the Photo Tool article.
Photo Tool for Windows
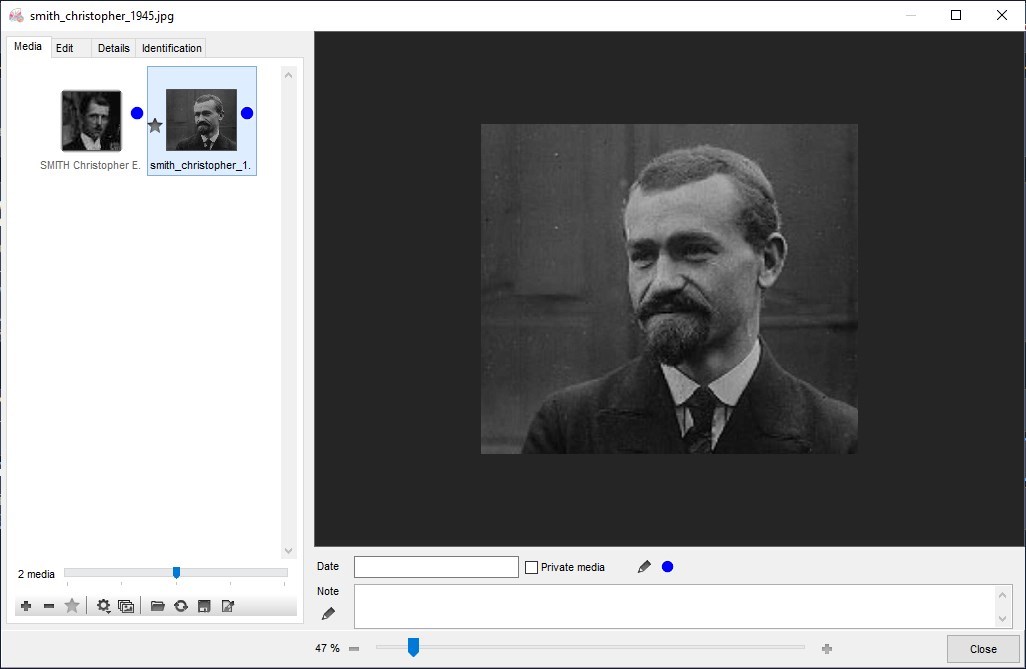
Photo Tool for Mac
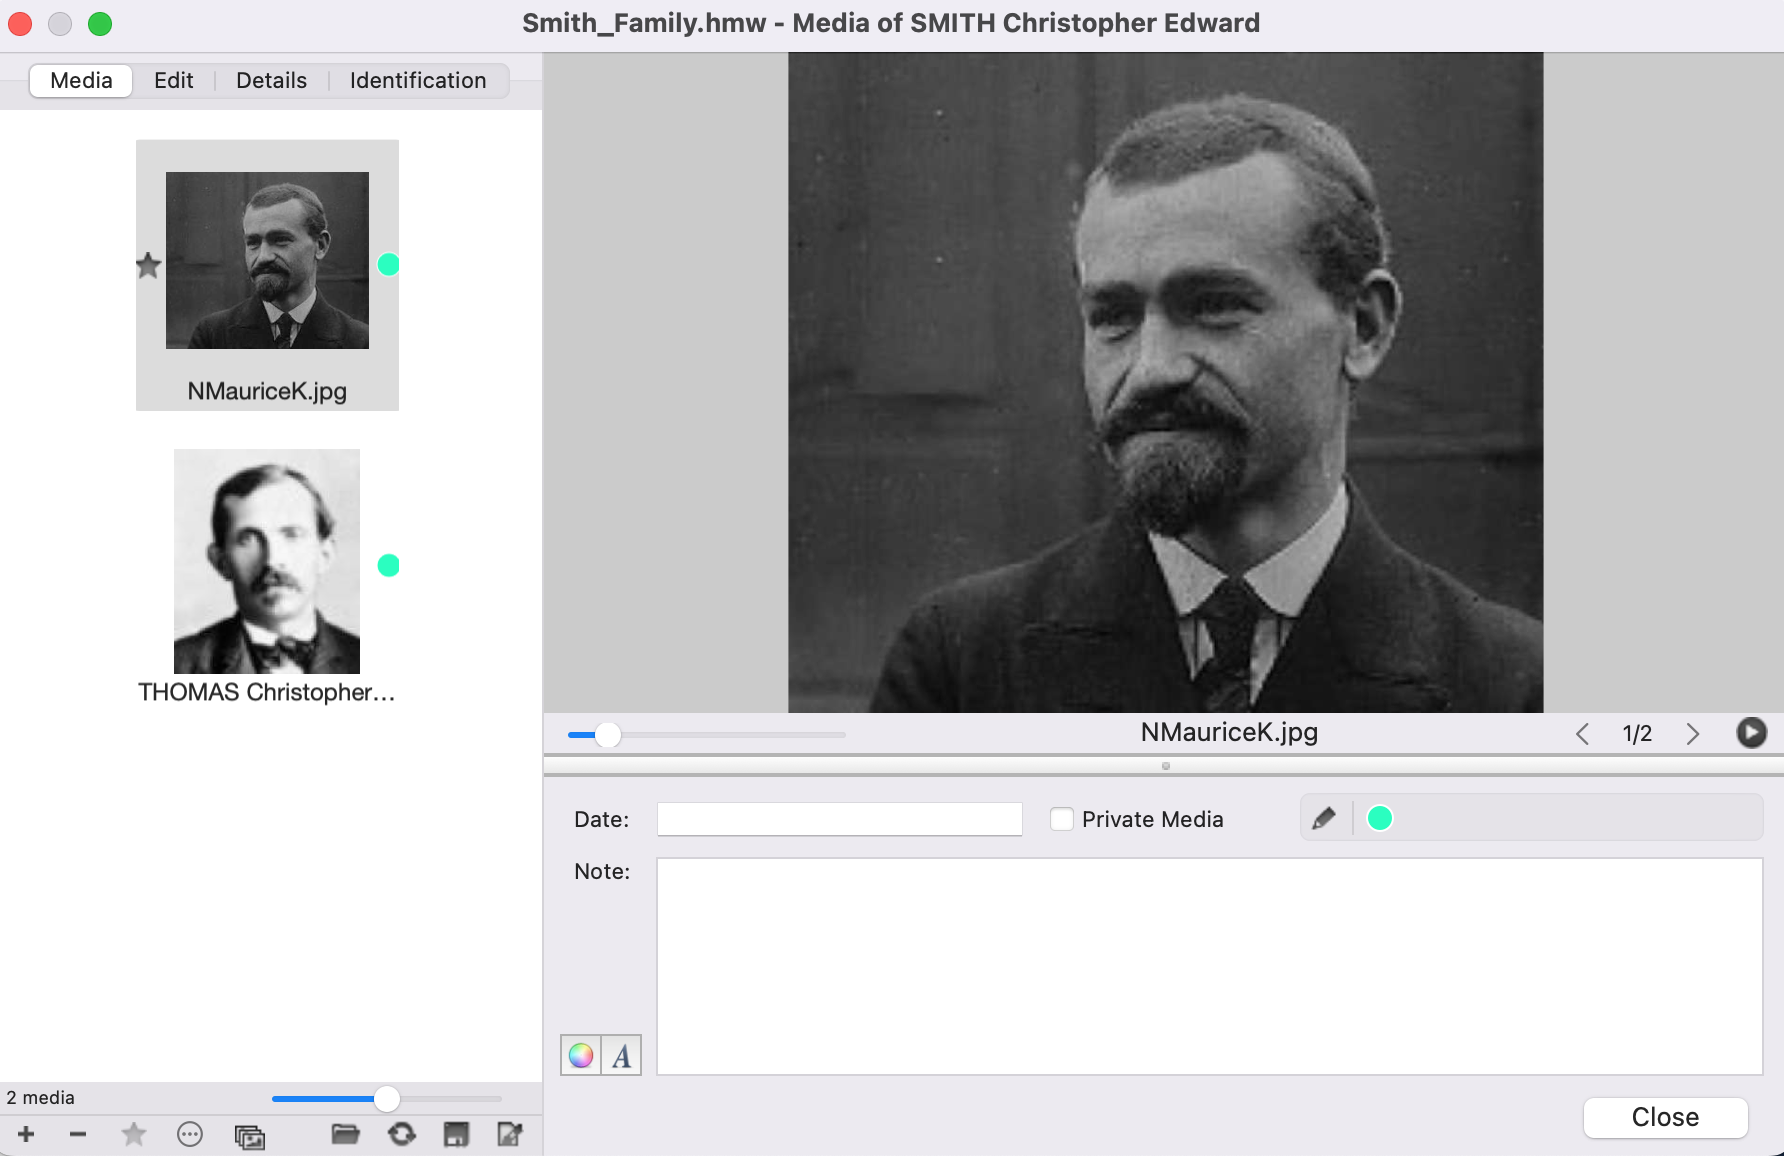
Date: The date of the media is a useful guide to illustrate the lives of ancestors, and allows the classification by date of the various media assigned to a person.
Note: Enter your comments in the notes field. The note may be formatted with tools for text editing.
Private Media: Tick the Private Media box to exclude it from export of a file or printing of a document.
Add a Flag: Identify the type of media. For example, if it’s a portrait photo or a signature, etc. See Personalized flags for more information.
Preferred Picture: Among all media assigned to the data, select the image that is displayed in the navigation screens and that illustrates the tree charts and printed documents. Tick the Preferred Picture box if your choice is not of the first image you have assigned to the data (person, places etc.). See paragraph above “Main image of the individual profile”, it is the same operation.
Info • Media are copied to the genealogical file. Their original location is given as an indication, there is no longer any connection between the media at the original location and media in your genealogy file. You can, however, request an update of the media file from the original media. See also Media Index > Searching for missing media.
Display order of media
Heredis automatically classifies media according to the order in which you have assigned to the data. To change this order, file them by date or name, or (Mac only) manually move the media in the order you want.
From the Photo Tool or the Media Index.
- Open the multimedia screen of the data.
• Double-click the media field.
• (Mac) Click the pencil-shaped bar in the media buttons.
 - Arrange the media.
• Click the Sort (windows icon, mac
  icon) and select Sort by date or Sort by name.
• (Mac) Drag the media with the mouse to position in the desired display order. A blue line indicates where the media will be dropped.
For further details see Photo Tool.
PDF Media (Windows)
Since Heredis 2023, PDFs now display all pages in all media areas. A specific toolbar appears.
![]()
The first button allows you to display the pages one below the other. The + allows you to zoom in, and the – to zoom out.
The following buttons change the layout on the PDF screen.
The buttons ![]() allow you to change pages one by one or to go to the very beginning or to the very end.
allow you to change pages one by one or to go to the very beginning or to the very end.
PDF Media (Mac)
Arrows on either side of the number of pages ![]() can be used to change pages.
can be used to change pages.
The PDFs that appear in the summary allow you to scroll through all pages one after the other, zoom in or out.
