


(Windows) Building single-page pedigree tree charts
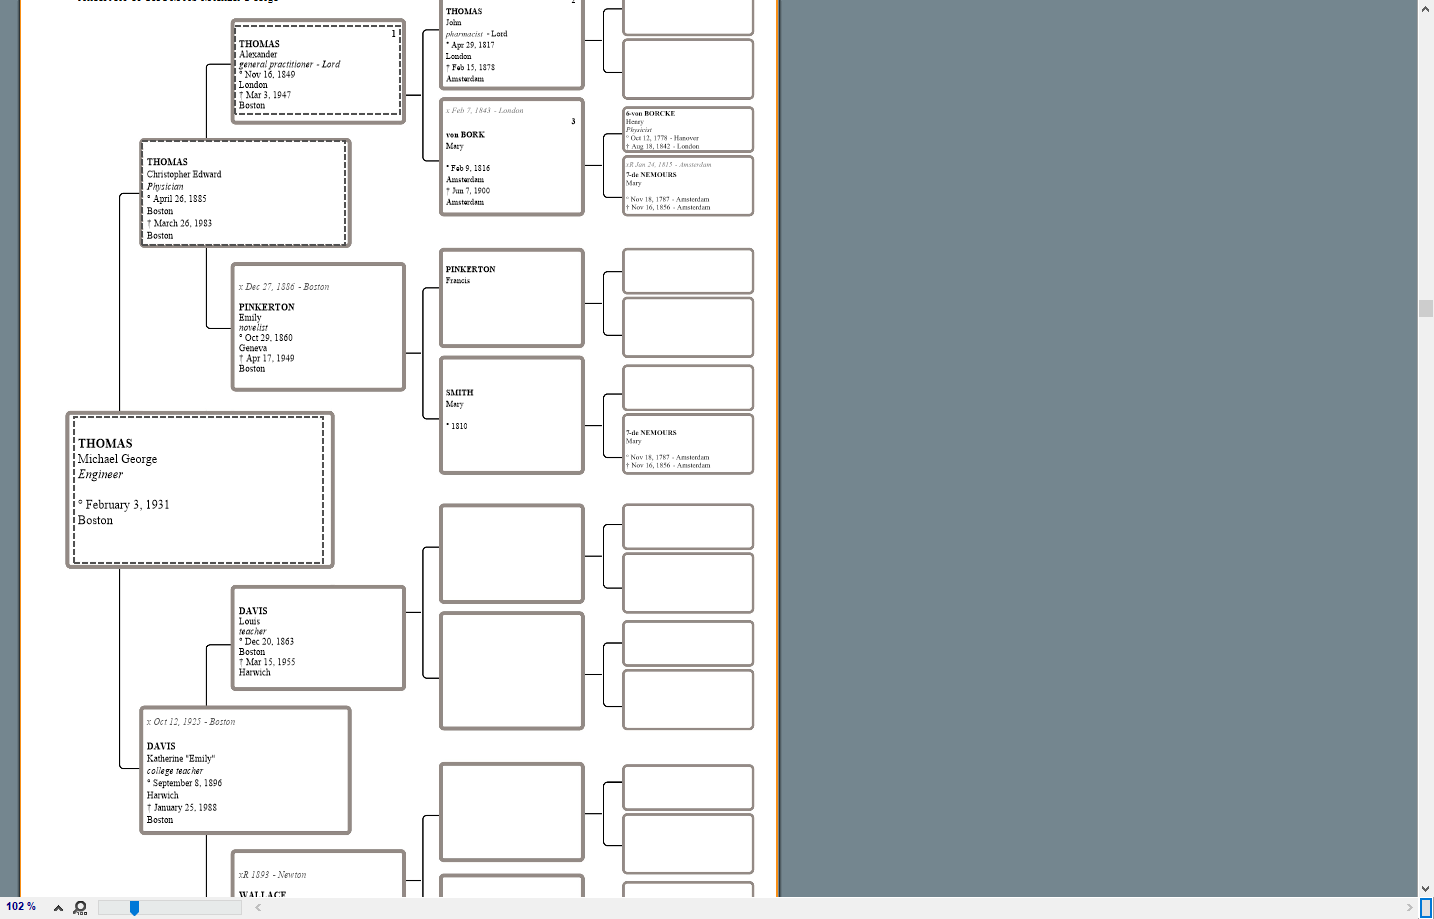
(Windows) Building single-page pedigree tree charts https://help.heredis.com/wp-content/themes/corpus/images/empty/thumbnail.jpg 150 150 Heredis Help Knowledgebase https://help.heredis.com/wp-content/themes/corpus/images/empty/thumbnail.jpgSingle-page pedigree trees are ancestors trees of predefined size whose presentation always conforms to the same scheme. They are designed to be printed on a single page.
Choose the presentation of the chart
Select the Charts menu – Ancestors Tree Charts – Single-page… , or click the button ![]() and click the thumbnail representing a single-page.
and click the thumbnail representing a single-page.
Graphic thumbnails show the different themes of single-page pedigree charts.
For each theme selected, Heredis indicates the format for which the document has been optimized. Some themes can accept up to 8 generations in a single-page. If so, choose how many generations you wish to see by page.

- Type the name of the theme that you want in the search bar.
- Display only your favorite themes (to set them, click the
 button).
The left-hand column allows you to specify who will be automatically included or not in the tree. Check or uncheck the boxes to print marked persons, secondary persons, persons declared confidential. If you choose to print persons declared confidential, you will need to specify how they will be displayed (in full or blur or partially). See the article The different data fields to find out what the marked, confidential and secondary tags are.

Choose to add the File name, page number and/or Today’s date.
Click the OK button to start creating the single-page pedigree tree.
Change the chart layout
It is possible to make changes to the entire tree chart or to a selection of boxes.
Select boxes
Click a box in the tree chart to select it. To extend the selection to other boxes, maintain Ctrl key and click or Shift key and click the other boxes you need to select and make a personal multi-selection. You can also hold down the mouse button and draw a rectangle around the boxes you want to select, if those boxes are contiguous.
Use the Search panel and double-click one of the poeple in the tree to select their box.
Type Ctrl A to select the entire tree or use the Select menu – Select All.
Use the right click to make a multi-genealogical selection. Click on the first box to select and then right clik of the mouse to choose from the following options: Select Person and All Ancestors – Select Person and All descendants- Select the generation – Select All (the entire tree chart) – Select Males Only – Select Females Only.
To unselect a box, maintain Ctrl key and click or Shift key and click the box.
See the article (Windows Pro) Apply a selection to a tree chart for more details on box selection.
Change the presentation of the boxes
It is very simple to change the formatting of a selection of boxes using the options provided in the Tools Panels:
- Apply a different font
- Increase or decrease the overall font size
- Change the alignment of content
- Change the color of the text in all the selected boxes.
The changes can also relate to the content of the selected boxes:
- Change the format of the surnames
- Change the format of given names
- Change the format of dates
- Change the format of places
- Apply other headings as genealogical symbols
- Show or not the Ahnentafel number
- Show or not the picture in tree charts themes allowing pictures.

Change the title of the tree chart
The title of the tree chart is an editable text box. Heredis offers a title containing the name of the primary person. Double-click the title to open the text editor and make your content or text formatting changes. When the processing window has been closed, if necessary, use the mouse to change the size of the title area by clicking on the border and then dragging with the mouse in the desired direction.

See (Windows) Print or export as PDF the tree chart for layout and printing functions.
