


(Mac) Print the tree chart
(Mac) Print the tree chart https://help.heredis.com/wp-content/themes/corpus/images/empty/thumbnail.jpg 150 150 Heredis Help Knowledgebase https://help.heredis.com/wp-content/themes/corpus/images/empty/thumbnail.jpgAdjust the size of a tree chart
Before printing, you must make sure that the size and orientation of the paper are set as you wish.
- Choose File menu > Page Setup or unfold the Print Setup panel and then click Page Setup.
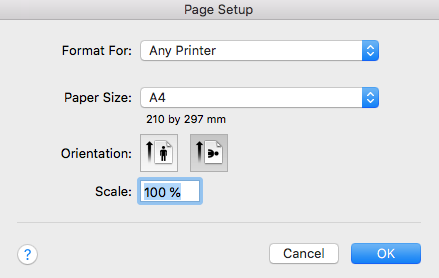
- Select the printer you will use in the Format For menu.
- Choose a standard paper size in the Paper Size menu. If you want to select a customized paper size, choose Manage Custom Sizes from the menu.
- Click the button corresponding to the desired orientation.
- If necessary, enter a percentage in the Scale field. A value below 100% reduces the image, a value greater than 100% enlarges it.
- Click OK to confirm the print size.
If the tree is too large, you may change its size by reducing the number of pages in the Print Setup panel.
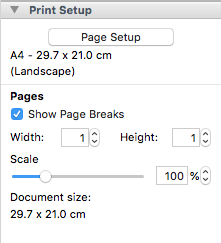
- Tick the Show Page Breaks box. Heredis displays how many pages corresponding to the selected paper size will be needed to print the tree chart.
- Change the number of pages in width and/or height.
- To enlarge or reduce the overall size of the tree chart, enter a percentage in the Scale field or move the cursor. A value below 100% reduces the size of the tree chart, a value greater than 100% enlarges it.
Info • Modification of the print setup may require the moving of new overlapping boxes.
- It only remains to launch the printing of the tree chart.
Launching the print-out
Depending on the printer you are using, you can print the tree on one page or series of pages to be assembled together.
- Click the Print
 button on the toolbar or choose File menu > Print.
 - Select the printer you want to use from the list of available printers. If your printer does not appear, select Add Printer from the Printer menu.
Info • For more information on adding a printer, look for Add Printer in the Mac Help.
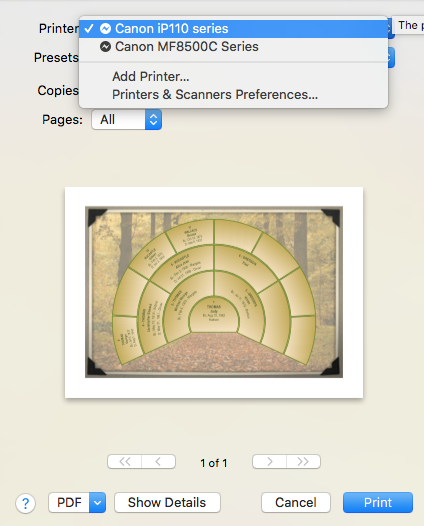
- To get a preview of the pages to be printed, click the scroll arrows.
- Click Print.
