


Personal Timeline
Personal Timeline https://help.heredis.com/wp-content/themes/corpus/images/empty/thumbnail.jpg 150 150 Heredis Help Knowledgebase https://help.heredis.com/wp-content/themes/corpus/images/empty/thumbnail.jpgSince Heredis 2026, the History tab has been enhanced with a personal timeline.
Click on the History tab > Personal Timeline to display the lifeline of the primary person.
Zoom
As with the wheels in the Graphs tab, you can zoom in and out.
Click on the + to zoom in.
Click on the – to zoom out.
The target button resets the setting to the default zoom.
Vertical and horizontal scrollbars appear according to zoom level.
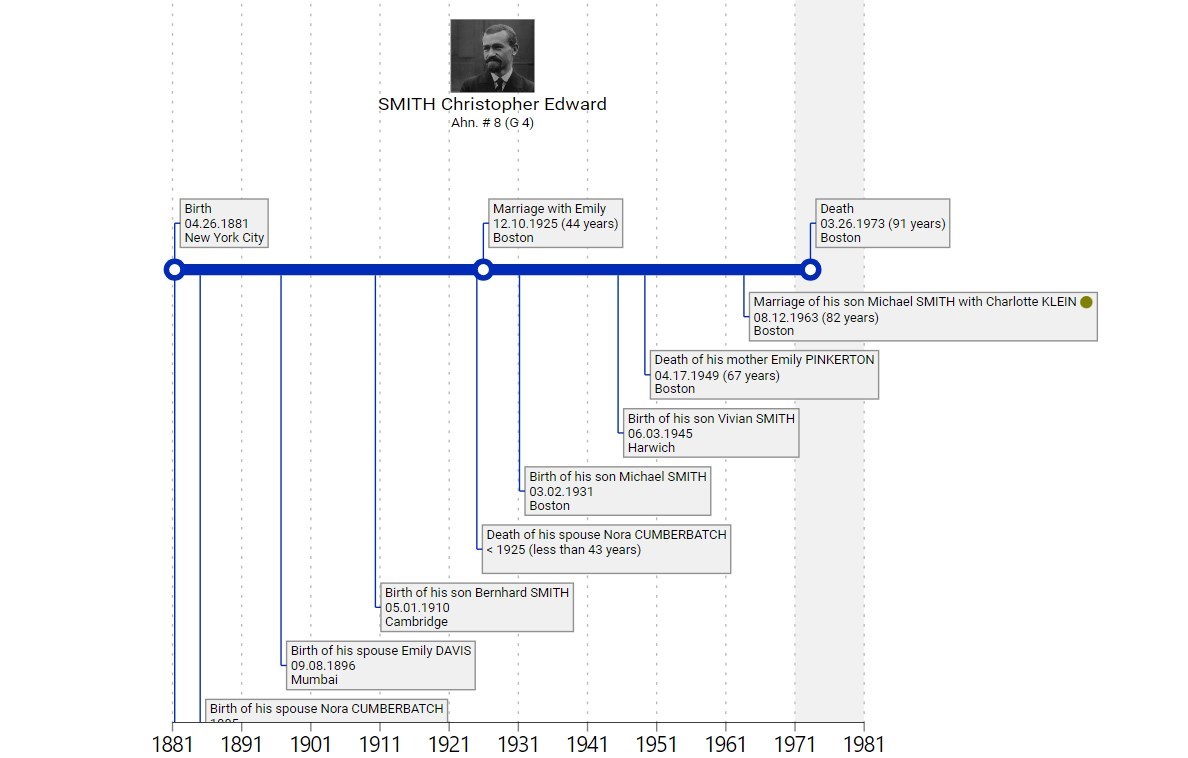
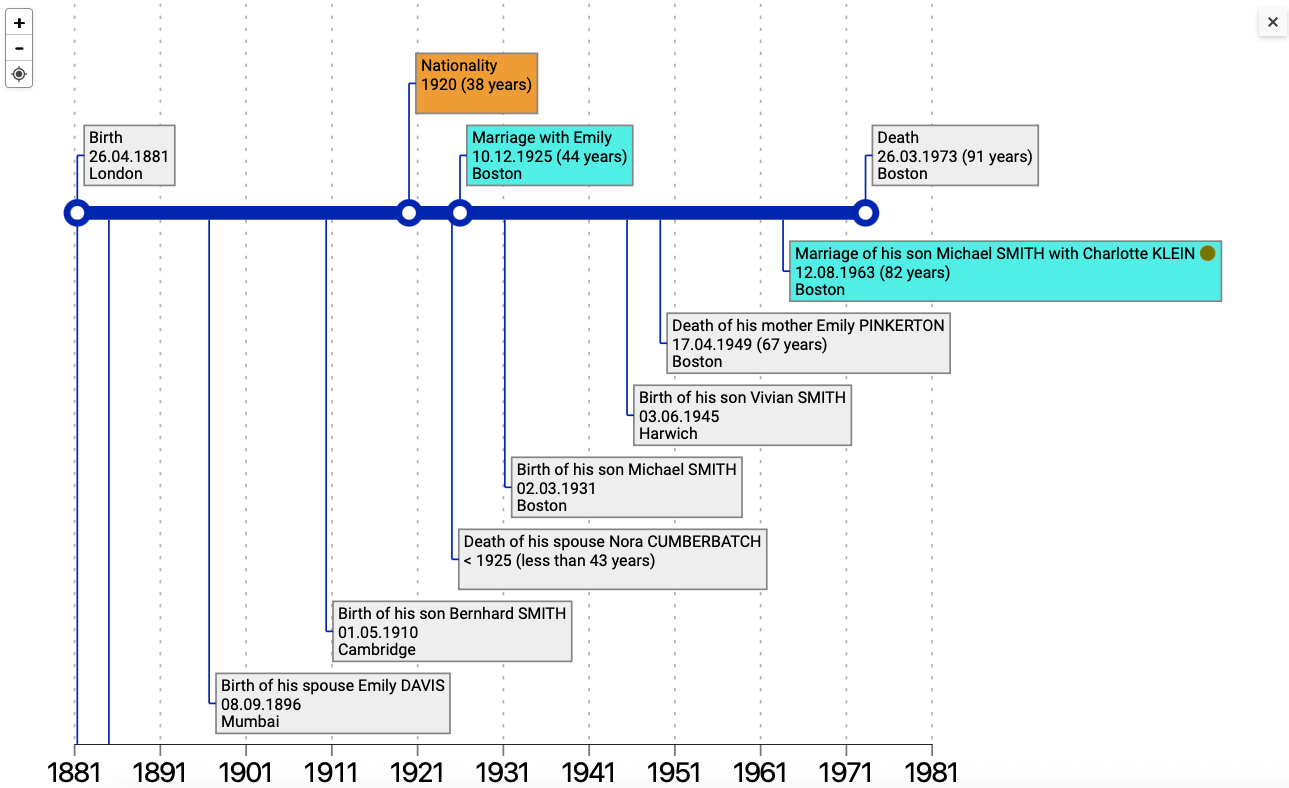
The display
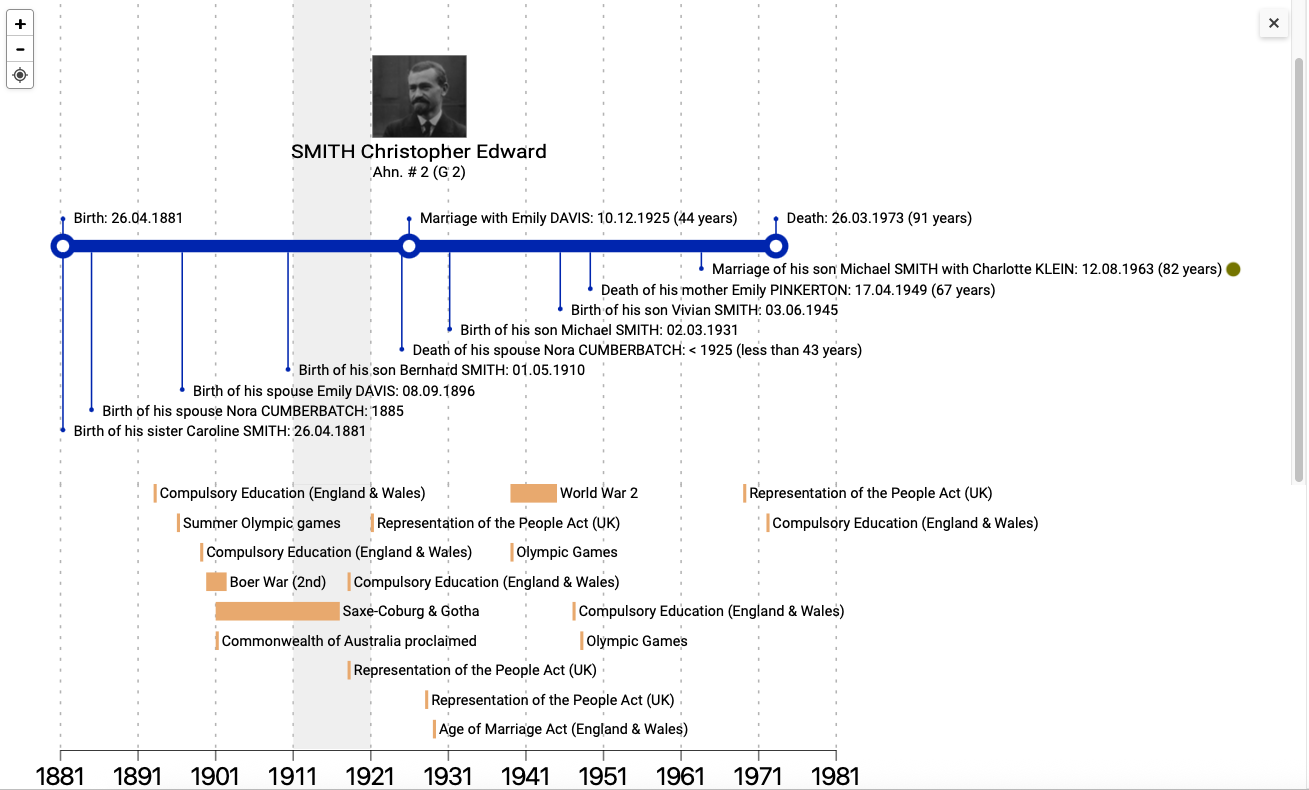
Heredis displays the image, given and surname of the primary person and, if he or she is a direct descendant, his or her Ahnentafel number and generation.
A lifeline appears. It’s blue for men, pink for women, and green for people of indeterminate gender.
On this line, you can see the events in his life above the line. They are marked by a circle on the line.
Crossed events, i.e. those of close relatives, are displayed below the line.
Note: Obviously, if the events or personal facts you have entered are not dated, they cannot be placed on the timeline.
By default, the lower part of the window shows the historical events that took place during his lifetime.
Later in this article, you’ll see how to set the display parameters.
Everything appears in relation to a time scale.
Options
The options panel can be displayed or hidden.
Click on the cross ![]() to fold up.
to fold up.
Click on the burger button ![]() to unfold.
to unfold.
Display direction
By default, the time scale is located below the lifeline, after the historical facts if you are displaying them.
You can reverse the direction to display from top to bottom.
Click on the drop-down menu and choose the direction best suited to your use.

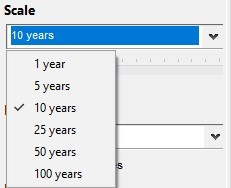
The scale
Modify the scale to obtain a time range more suited to your needs. You can choose between 1 year and 100 years.
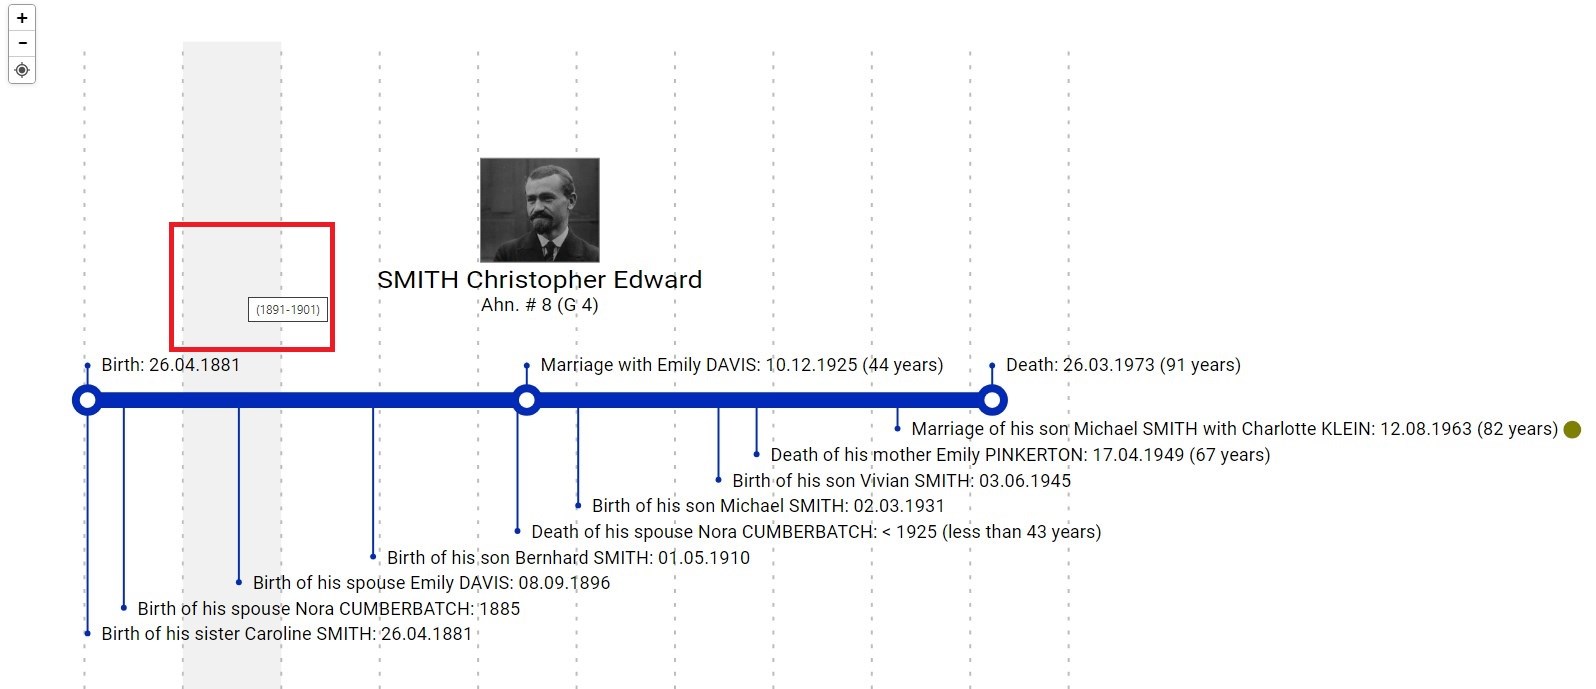
According to your choice, the period grid, symbolized by dotted lines, adapts. Move your mouse between two dotted lines on the timeline to see the period in question in a tooltip.
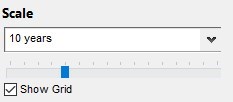
 Stretch the time scale to improve legibility. Use the slider under the scale drop-down menu.
Tip: Remember to fold the work and search panels to the side if you have a small screen.
Finally, uncheck the Show grid box to stop seeing the dotted lines.
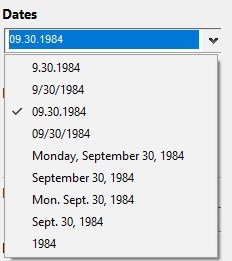
Date format
Click on the drop-down menu to choose your preferred date format.
Check the Date in Gregorian box to have Heredis automatically convert the dates entered into another calendar. This makes it easier to understand for people to whom you may be sending the timeline and who may not be familiar with the intricacies of the calendar.
The chosen format is applied to the dates of individual and crossed events, as well as to the dates of historical facts if you decide to display them (see below).
Data to be displayed
Choose whether or not to display (by unchecking the box):
- the numbers (Ahnentafel and/or personal) of the primary person
- ages at the event
- main images of the person and events in Box mode.
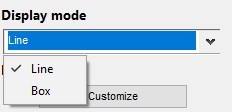
Display mode
Click on the drop-down menu to choose whether to display events in Line or Box mode.
The box display is larger, but allows you to view the main event image if you’ve set one up.
The events
The Cross Events box, if checked, displays the events of the primary person’s relatives. Uncheck the box to stop them appearing.
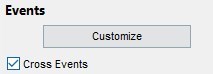
The Customize button lets you choose which events you want to display and which you don’t.
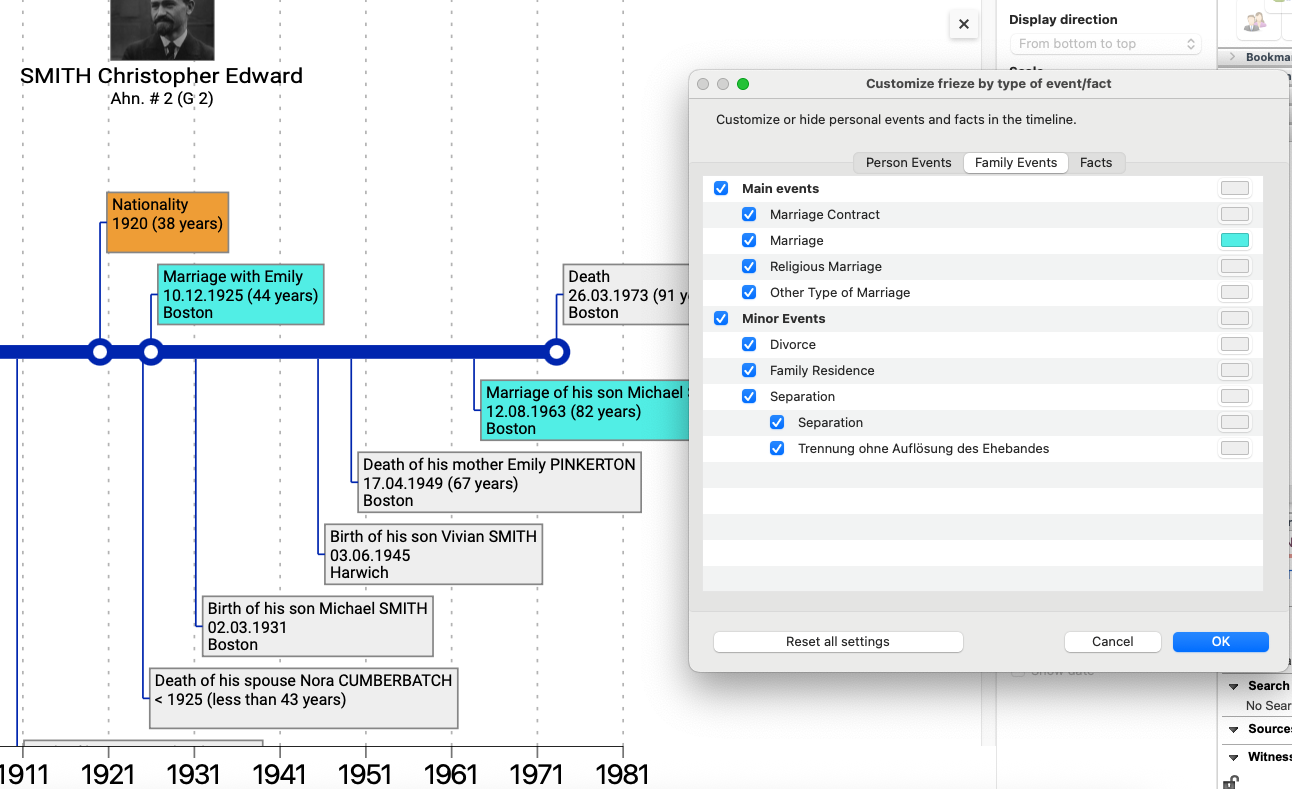
In Box mode, you can also assign a color to each event type.
Click on Customize to open the settings window.
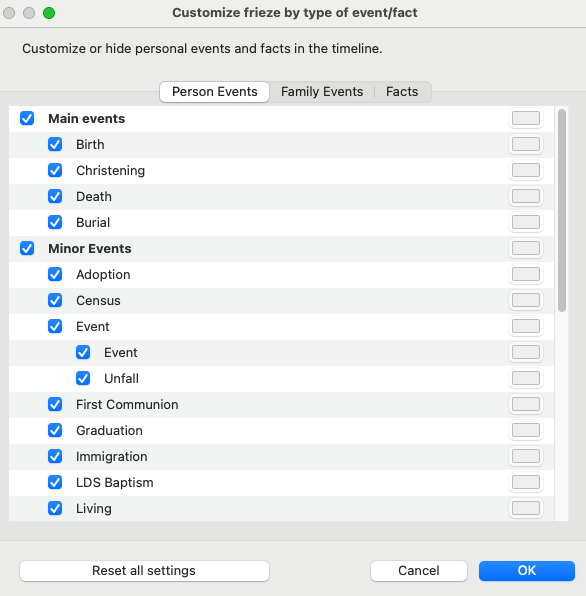
3 tabs are available to display or not the :
- Person Events. This tab lets you manage personal events by event type
- Family Events. This tab lets you manage the primary person’s union events by event type
- Facts. This tab lets you manage dated personal facts.
Note: On Windows, validate the window for changes to take effect.
Uncheck the events you do not wish to see on the timeline.
Click on the grey rectangle to assign a color to this personal event or item.
These choices apply if the event exists for the primary person or someone close to him/her (cross-event).
To refine the display of events, you can use event flags.
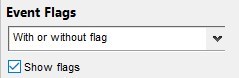
Event flags
Since Heredis 2025, you can assign personalized flags to events. See the Personalized flags article for more information.
The personal timeline allows you to choose whether or not to display events to which you have attached personalized flags.
Click on the drop-down menu to view only events with flags, only events with a flag, or events without flags.
Uncheck the Show flags box if you don’t want to see the icons in the box.
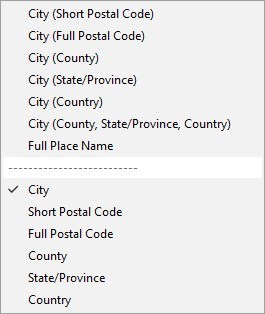
The places
In Box mode, event places appear. You can choose the format of the places from the drop-down menu.
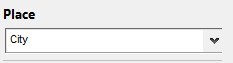
Click on the drop-down menu. Select the desired format from the list.
Historical facts
Place your ancestors in the historical context in which they lived.
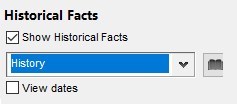
Check the Show historical facts box.
Choose the category of historical facts you wish to display by clicking on the drop-down menu.
If you have customized categories, they will appear.
See the Historical facts index article for all you need to know about adding categories and historical facts.
Click on the ![]() button on Windows and
button on Windows and ![]() on macOS to open the index of historical facts.
on macOS to open the index of historical facts.
Check the Show date box to display the date of historical facts on the timeline. The format applied is that chosen for events, to ensure a uniform timeline.
Print an personal timeline
You can also print a personal timeline. It works in the same way as the family timeline.
See Exporting a personal or family timeline or wheel for printing.